Amy Scott's Thoughts

Sharing the thoughts that bounce around in my brain!

If It Looks Complicated… June 26, 2012

Filed under: Cooking Experiments — Amy Scott @ 7:09 pm

The Inspiration!

It probably is!

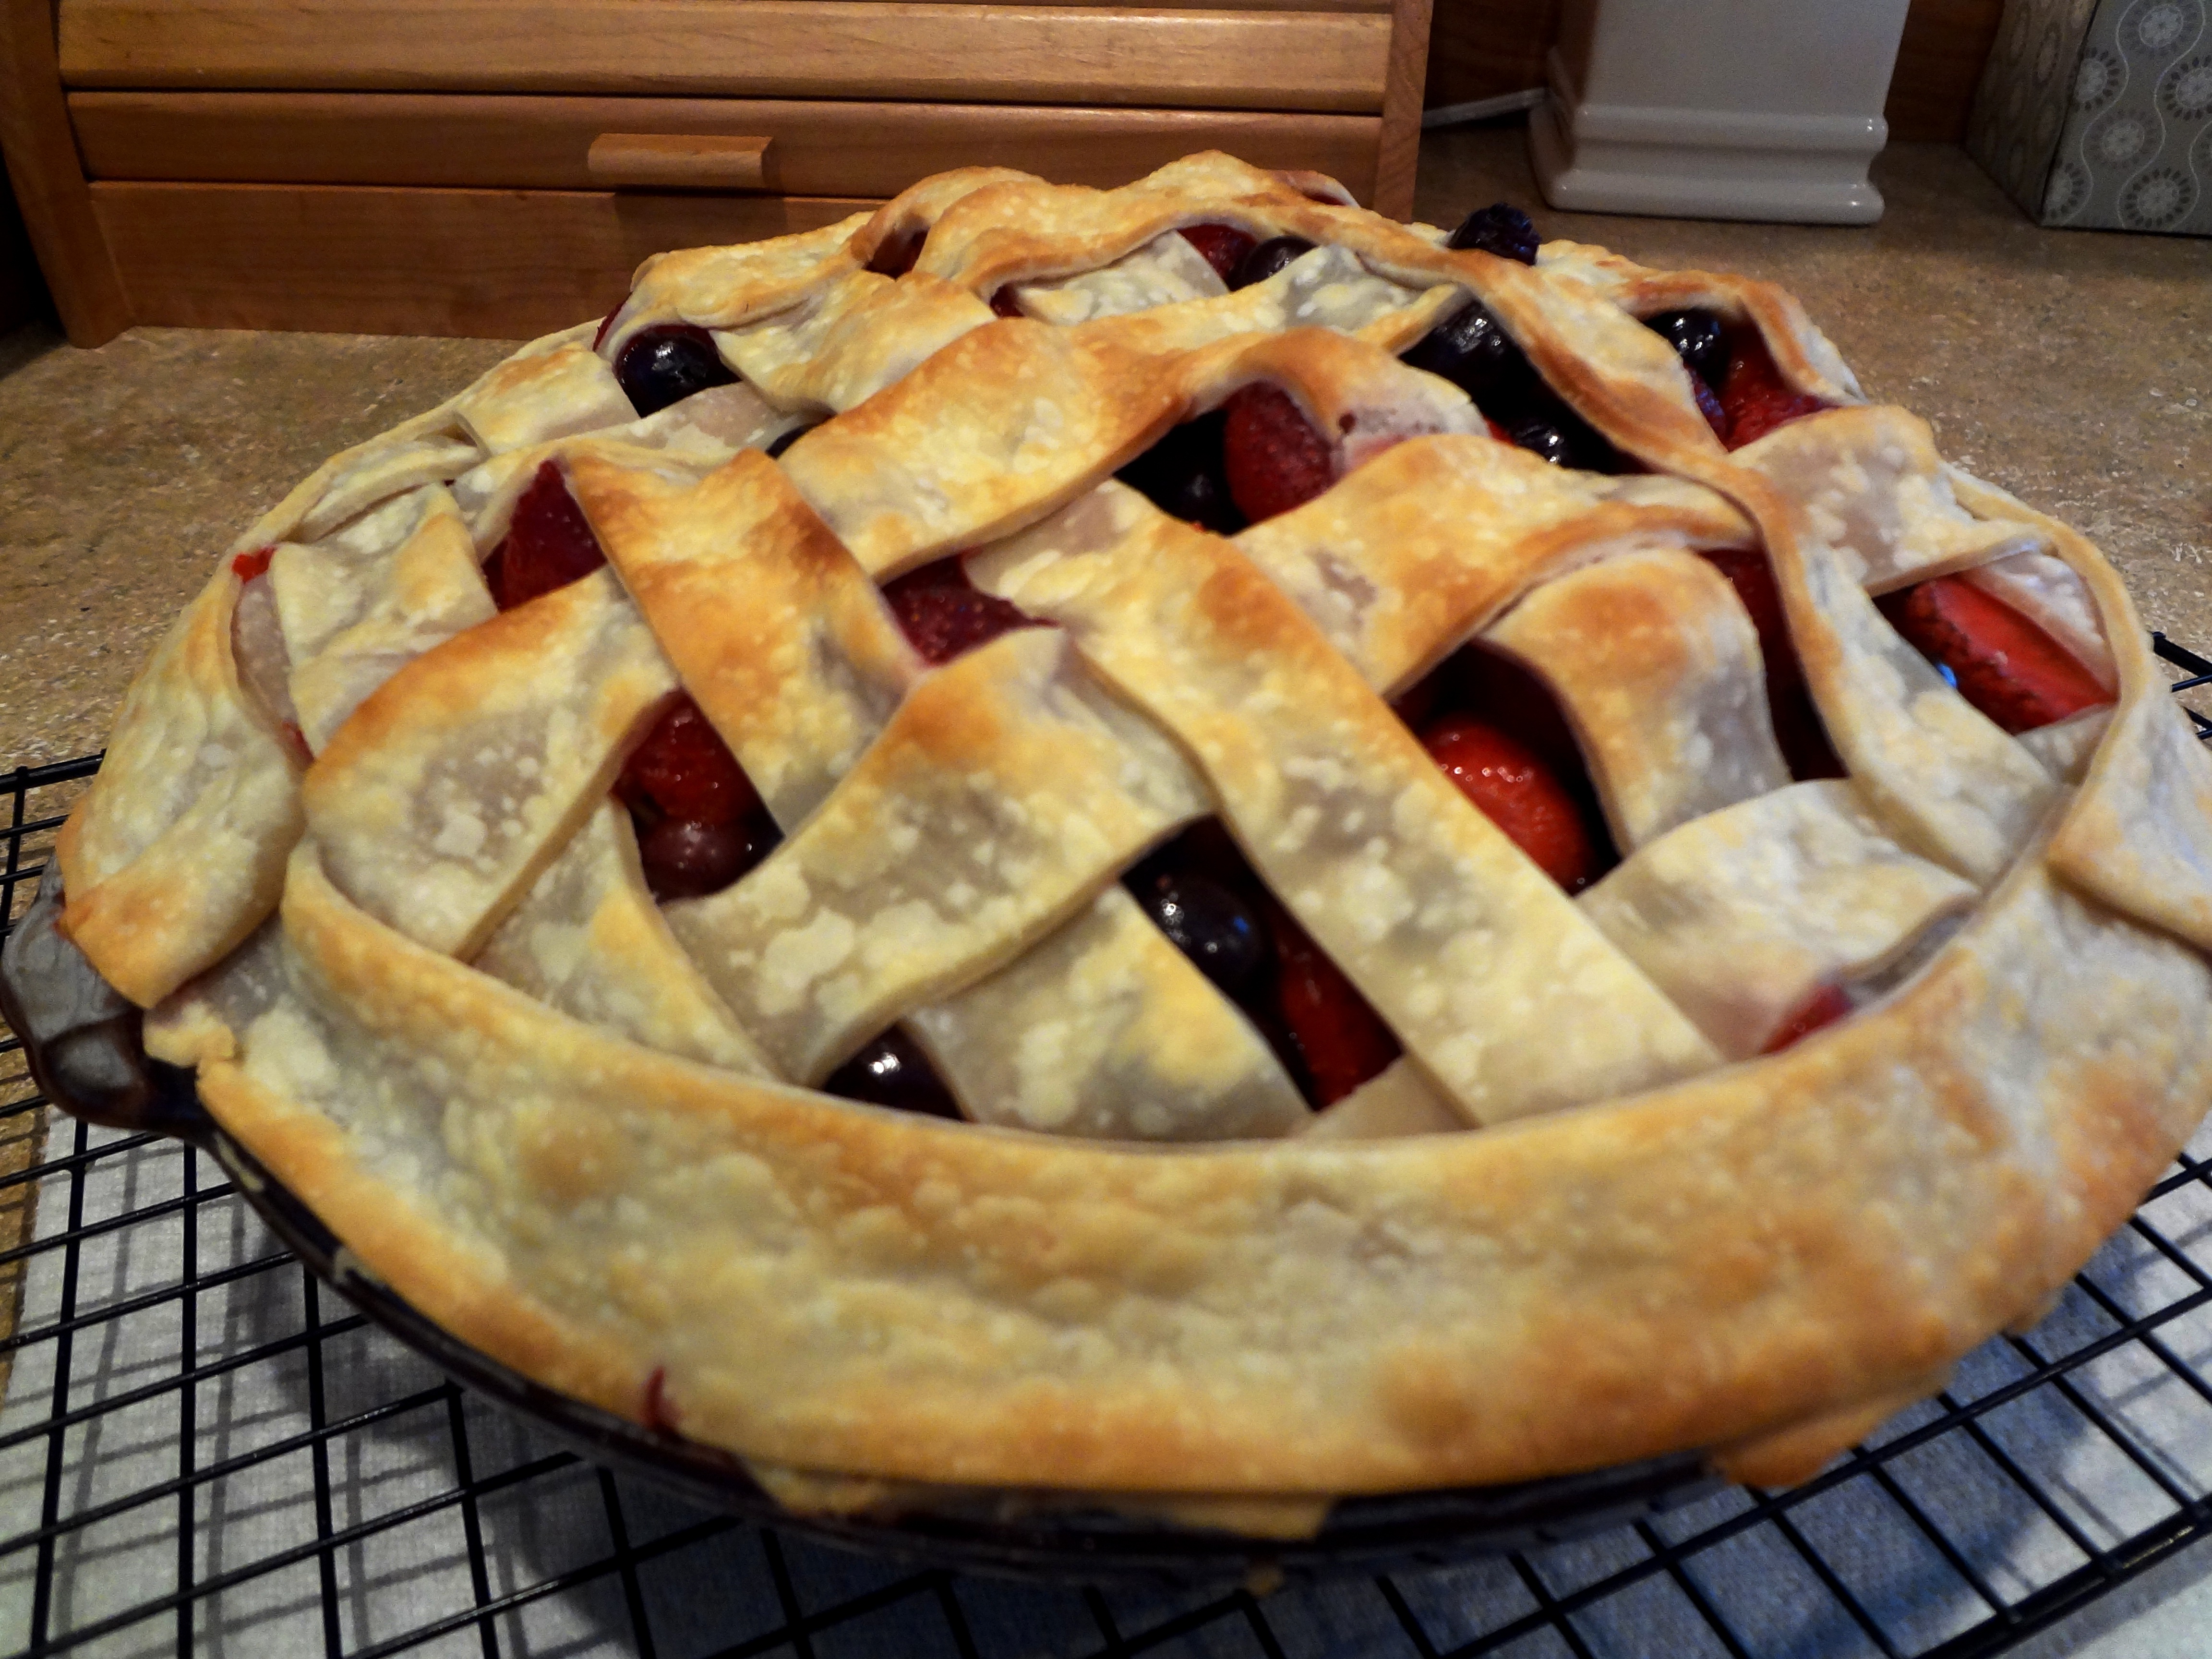
Oh, Food Network Magazine… It’s been my inspiration for so many baking projects as of late. I always get excited when the magazine arrives. I carefully pour over each page and note all the things that I think I could make (aka bake – that’s the only thing that really catches my eye… something about the sugar content…hmm). As always, there was a project that I wanted to try. I couldn’t pass up the fun idea of a pie cake! It’s a layered project where you bake yellow cake and take it out while it’s still wobbly. You add your fruit layer. Then you add the pie crust and finish baking it. I looked at the picture and it seemed complicated. However, I’ve been pretty successful with my other attempts from FNM so I guess I got a little cocky. I thought I could handle it. Sadly, my dessert looks nothing like the picture. I’m pretty sure it will taste okay, but that desired appearance means a lot to me and I flopped it.

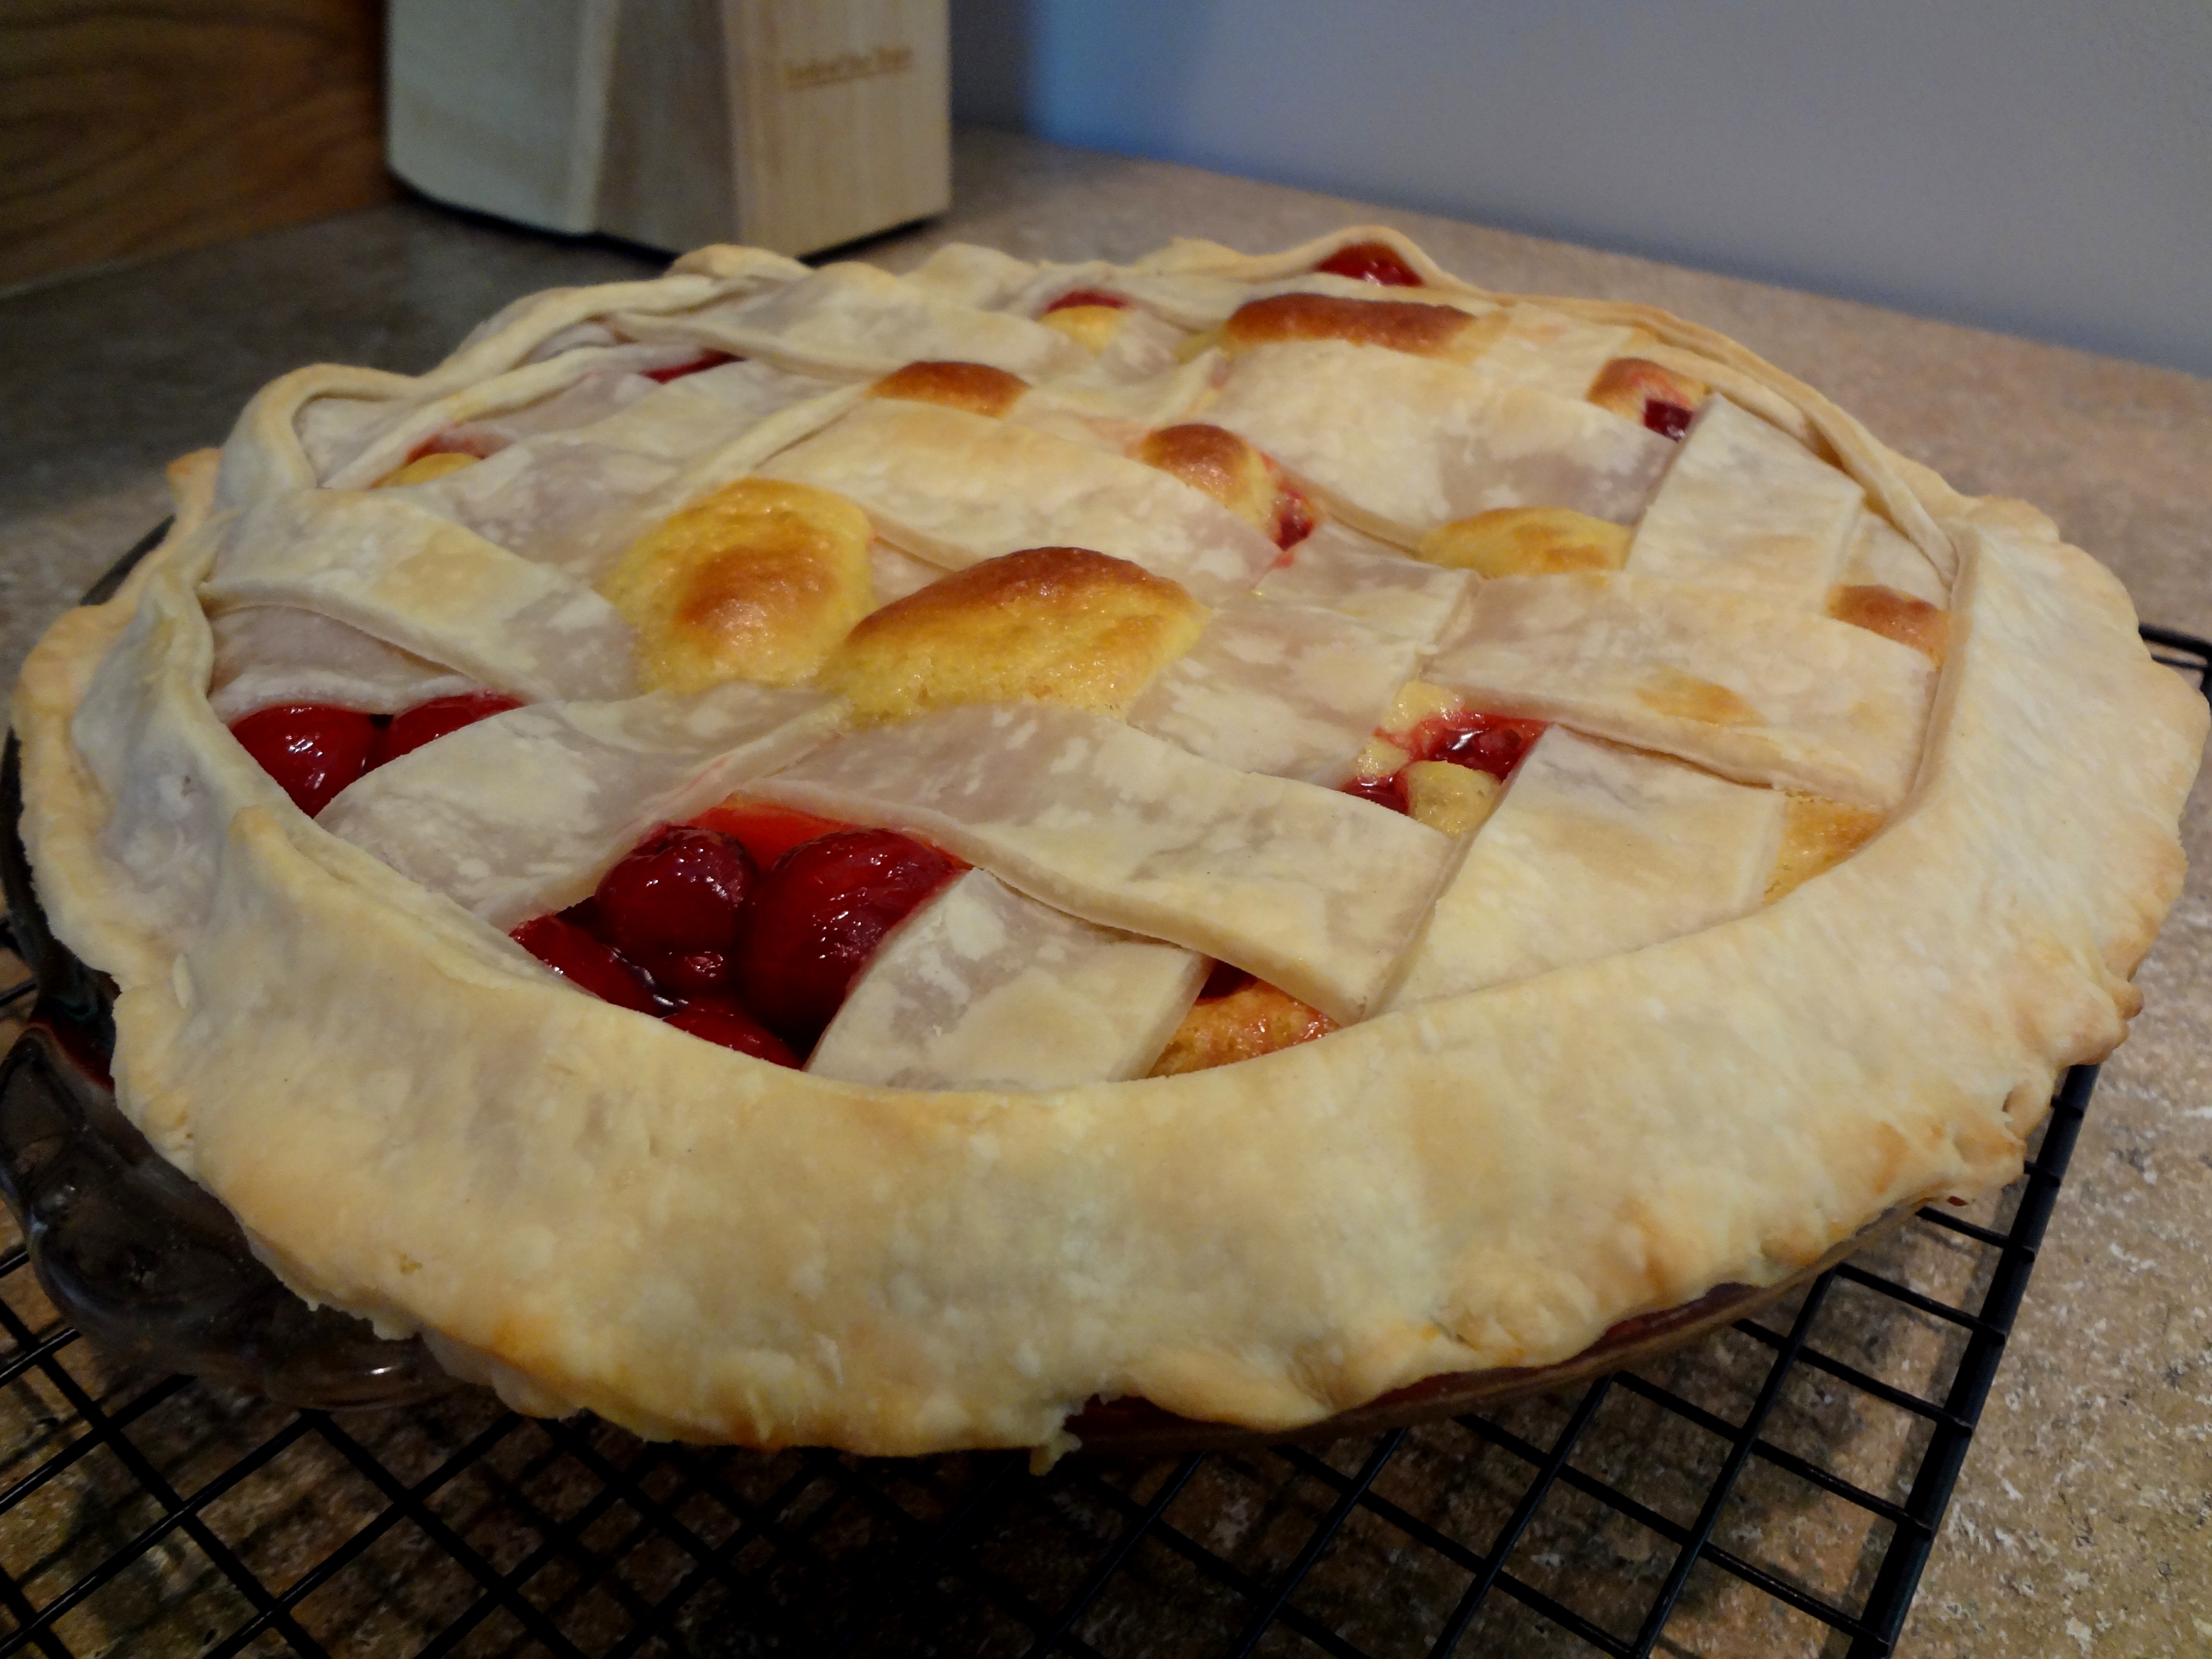
So my first problem… I probably used too much batter. It’s hard to judge filling the pan pie 2/3 of the way full. Unless it’s labeled, I’m really bad at eye-balling things. Next problem, I decided to use cherry pie filling instead of strawberries. I tired to get as much of the cherry goo off as possible, but I didn’t work out in my favor. The cherries just weighed too much and they penetrated the baked layer of the cake causing the unbaked insides to ooze out. Not pretty… trust me. This made for a mixture of cherries and cake batter on top. The whole point is to hide the cake underneath the berries, but that didn’t work out so well. So much for the surprise element. I also probably needed another can of cherries to cover the top completely. I just assumed 2 cans was enough.

The End Result

This was  my first attempt at lattice work on the pie crust. I didn’t do such a super job of cutting the strips evenly. I knew I should have used a ruler! Anyway, for some reason the crust didn’t want to brown too much and I had a fear that I would bake all the moisture out the cake. After resetting the timer numerous times, I figured things were as good as they were going to get.

Like I said before, I’m sure it’s going to taste fine. However, I try to make all my goodies look phenomenal when serving them to my 5th/6th grade girls. Let’s be honest, kids can be picky. They can make a decision about something just from looking at it. I really want them to give it a chance. I might need to have a back up snack just in case for some reason this pie cake was a total flop.

I might have to try this again and redeem myself. Maybe now I’ll be able to pull off the picture perfect pie cake. Or maybe this is just how my cooking experiments will go… try it… mess it up… move on. I still have many other fun treats to create. Maybe pie cakes won’t be my specialty.  Oh well. Jesus still loves me!


Yummy Ice Cream Cake! June 7, 2012

Filed under: Cooking Experiments — Amy Scott @ 1:48 pm

Cake 1

I’ve loved my subscription to Food Network Magazine (thanks E&A)! Every month when it arrives, I get all excited to sit down and pour over it. I usually also end up hungry by the time I’m done! I find it very inspiring, but I’ll be honest, all I’ve made out the magazine is dessert. I can’t help it! It’s what I’m drawn to! SUGAR!

This month they had a whole section on ice cream cake. One of the recipes calls for a spring form pan which I don’t own, so I decided to go for the cake that I had all the supplies for. I settled on the Neapolitan Ice Cream Sandwich Cake. It was pretty simple in design, but you’ll never believe the mess it made in my kitchen! Melting, sticky ice cream all over! For those who know how OCD I am, you would proud of some of my recent kitchen messes! You’d hardly believe I was capable of making them!

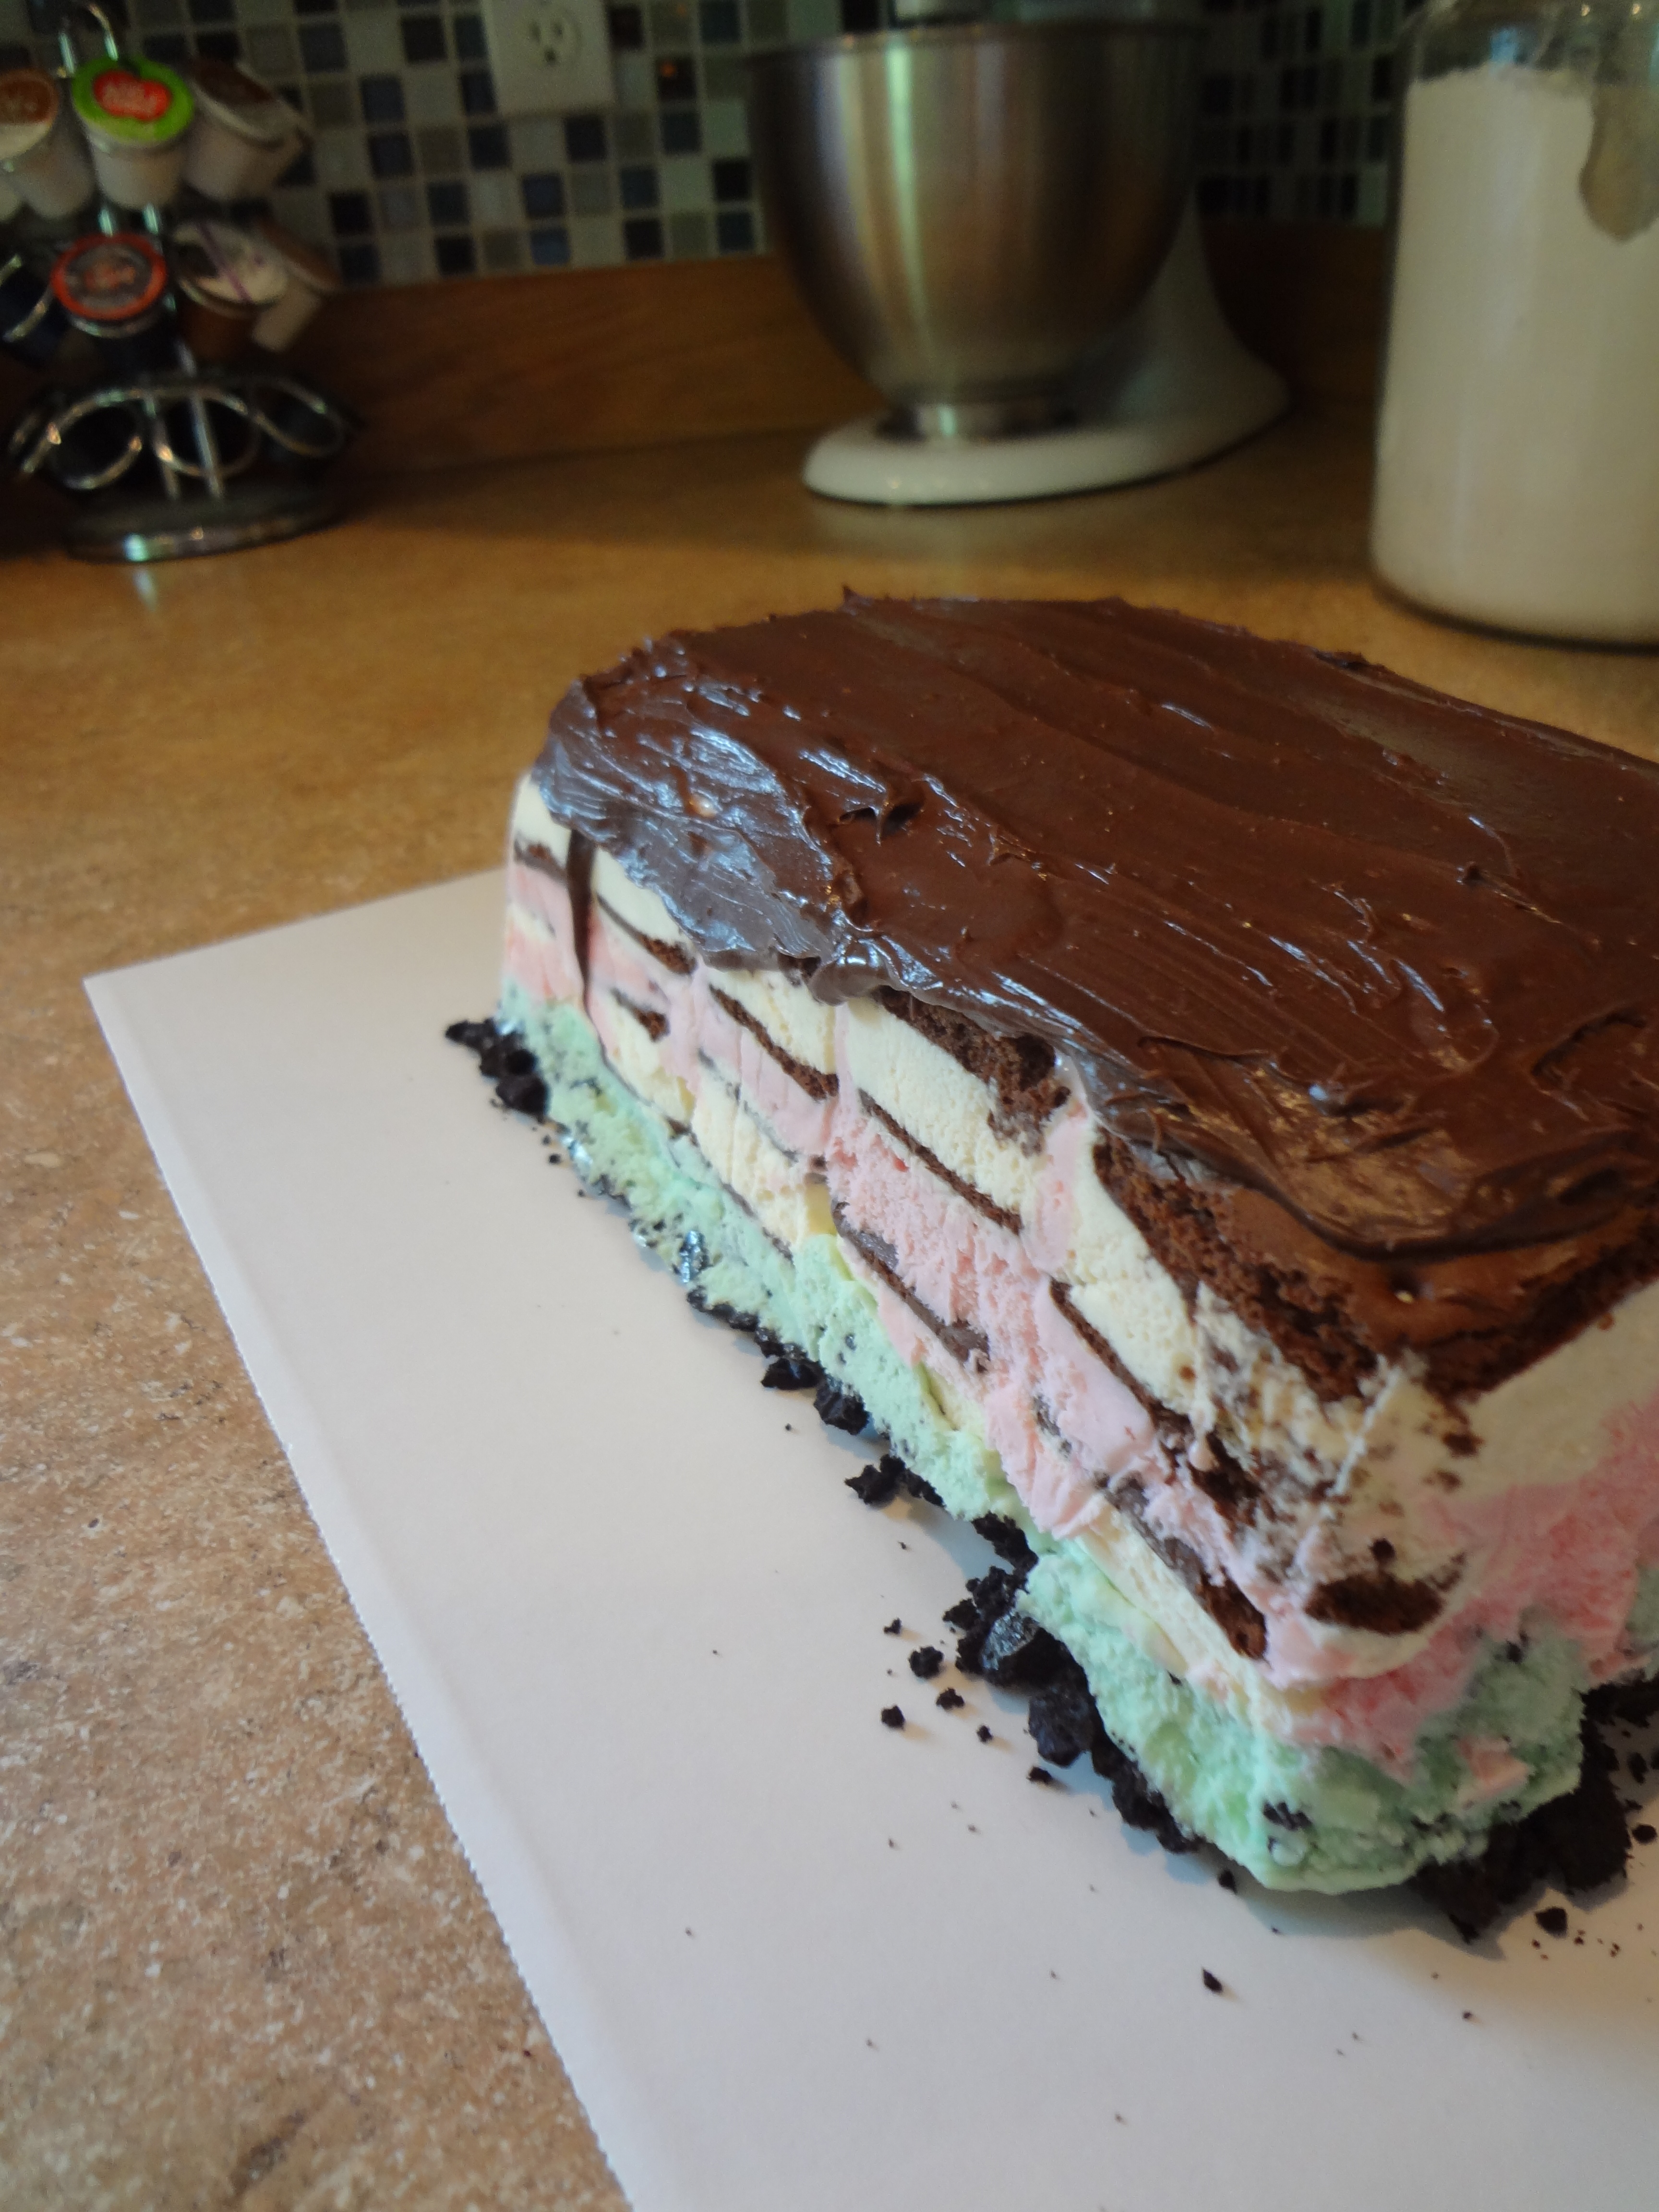
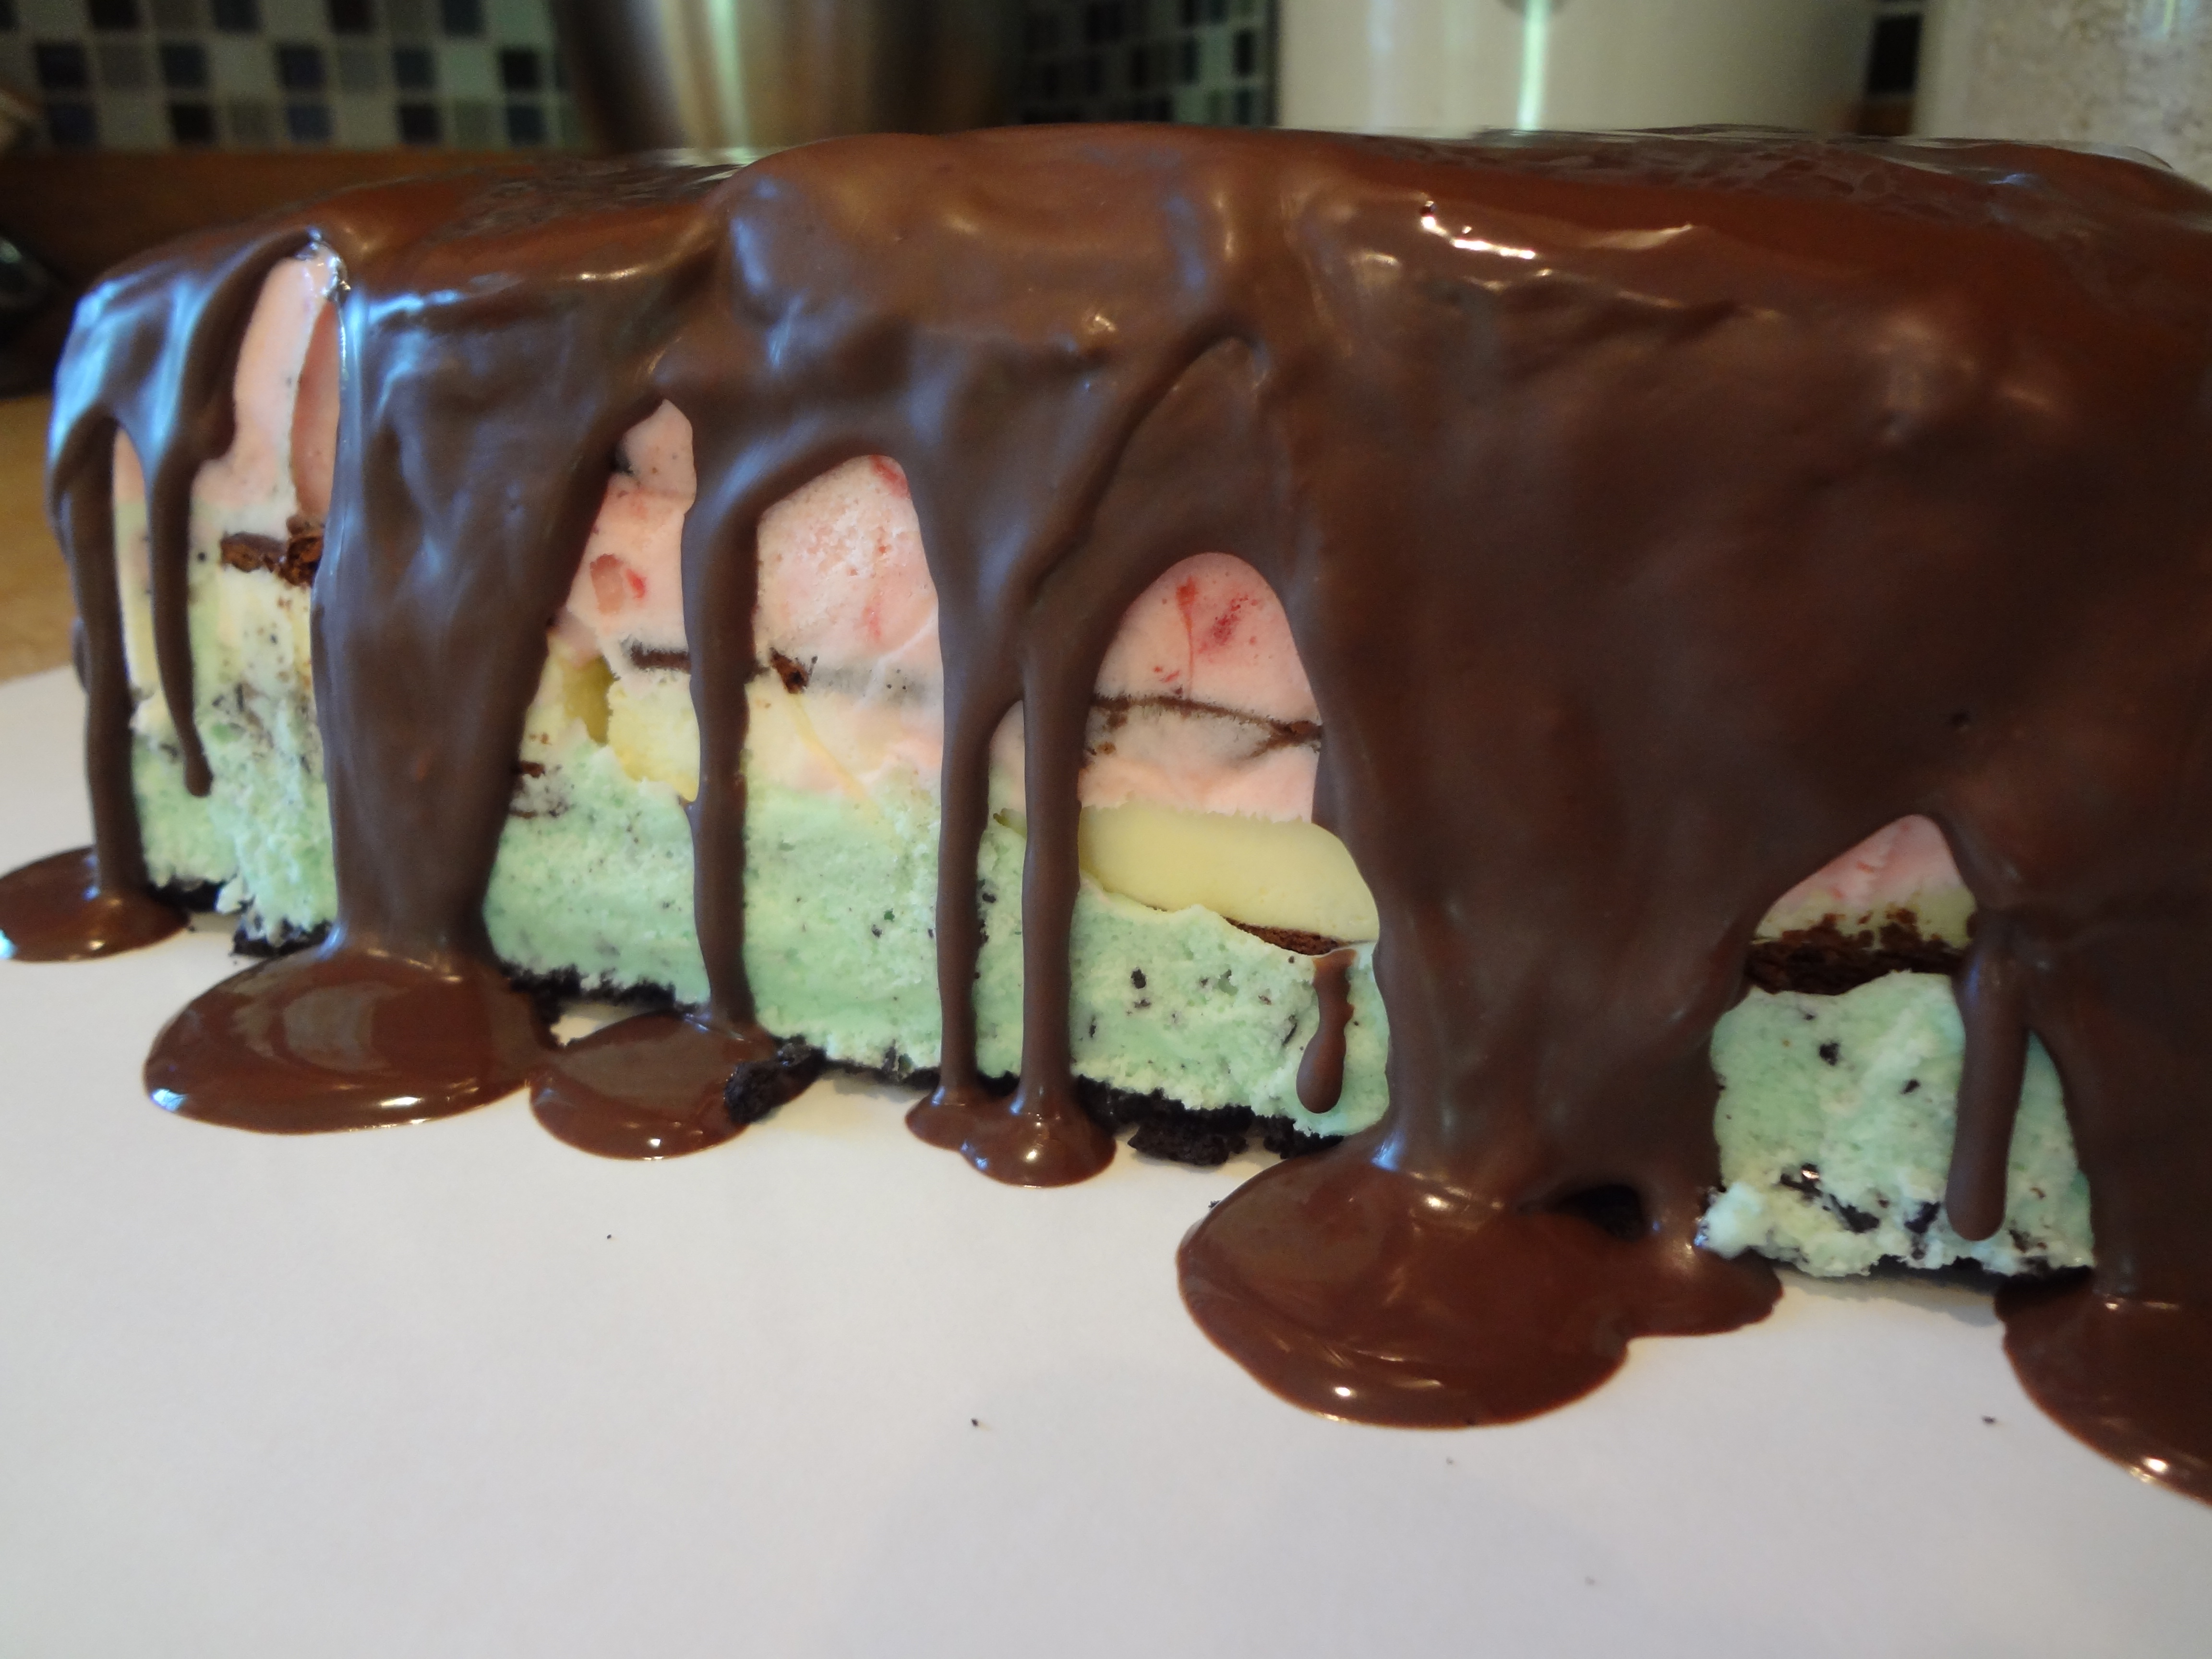
The process starts by lining a loaf pan with tin foil. The bottom layer is 5 ice cream sandwiches. Add a layer of strawberry ice cream, another layer of ice cream sandwiches, and a layer of mint chocolate chip. The final layer is crushed cookie crumbles. As you can imagine, it’s back into the freezer to firm up the dessert (4 hours according the recipe – that seems like a long time when you’re dreaming of ice cream cake).  Using the tin foil – the cake comes easily out the pan. Once the cake is inverted onto a platter, the foil is peeled off,  From there the finishing touch is topping the cake with chocolate shell topping.

Cake 2

I found that the chocolate shell topping was a bit tricky. I made two cakes and for the first one I used the topping just at room temperature. This means it came out at the consistency of frosting. For the second cake, I soaked the topping in hot water which thinned the texture. Both options turned out well, but they were both different.

The first cake went to my class of girls last night. I was a little disappointed with the look of the cakes at the very beginning because the lines weren’t as crisp and clean as I would have liked. However, when I sliced the cake and served it, each slice looked beautiful and the layers looked great. The girls loved the cake and I have to admit, so did I! It was super tasty and super easy to make! It’s been fun to explore new desserts and try new things. I think I might have to get a spring form pan in the near future so I can try the second ice cream cake that caught my eye! Yum yum!


Pretty or Tasty? May 26, 2012

Filed under: Cooking Experiments — Amy Scott @ 8:30 am

It would be ideal if both happened, but sometimes you can only settle for one! I would choose tasty if I had the choice. I’m guessing the rest of you would as well!

Jeremy and I are in the middle of an experiment. We’re trying to eat everything in our freezer, frig and pantry before we go shopping. We are doing a good job, but now we have to get creative when it comes to making things. We wanted to use the blueberries in our freezer and make a dessert with the limited items we have.

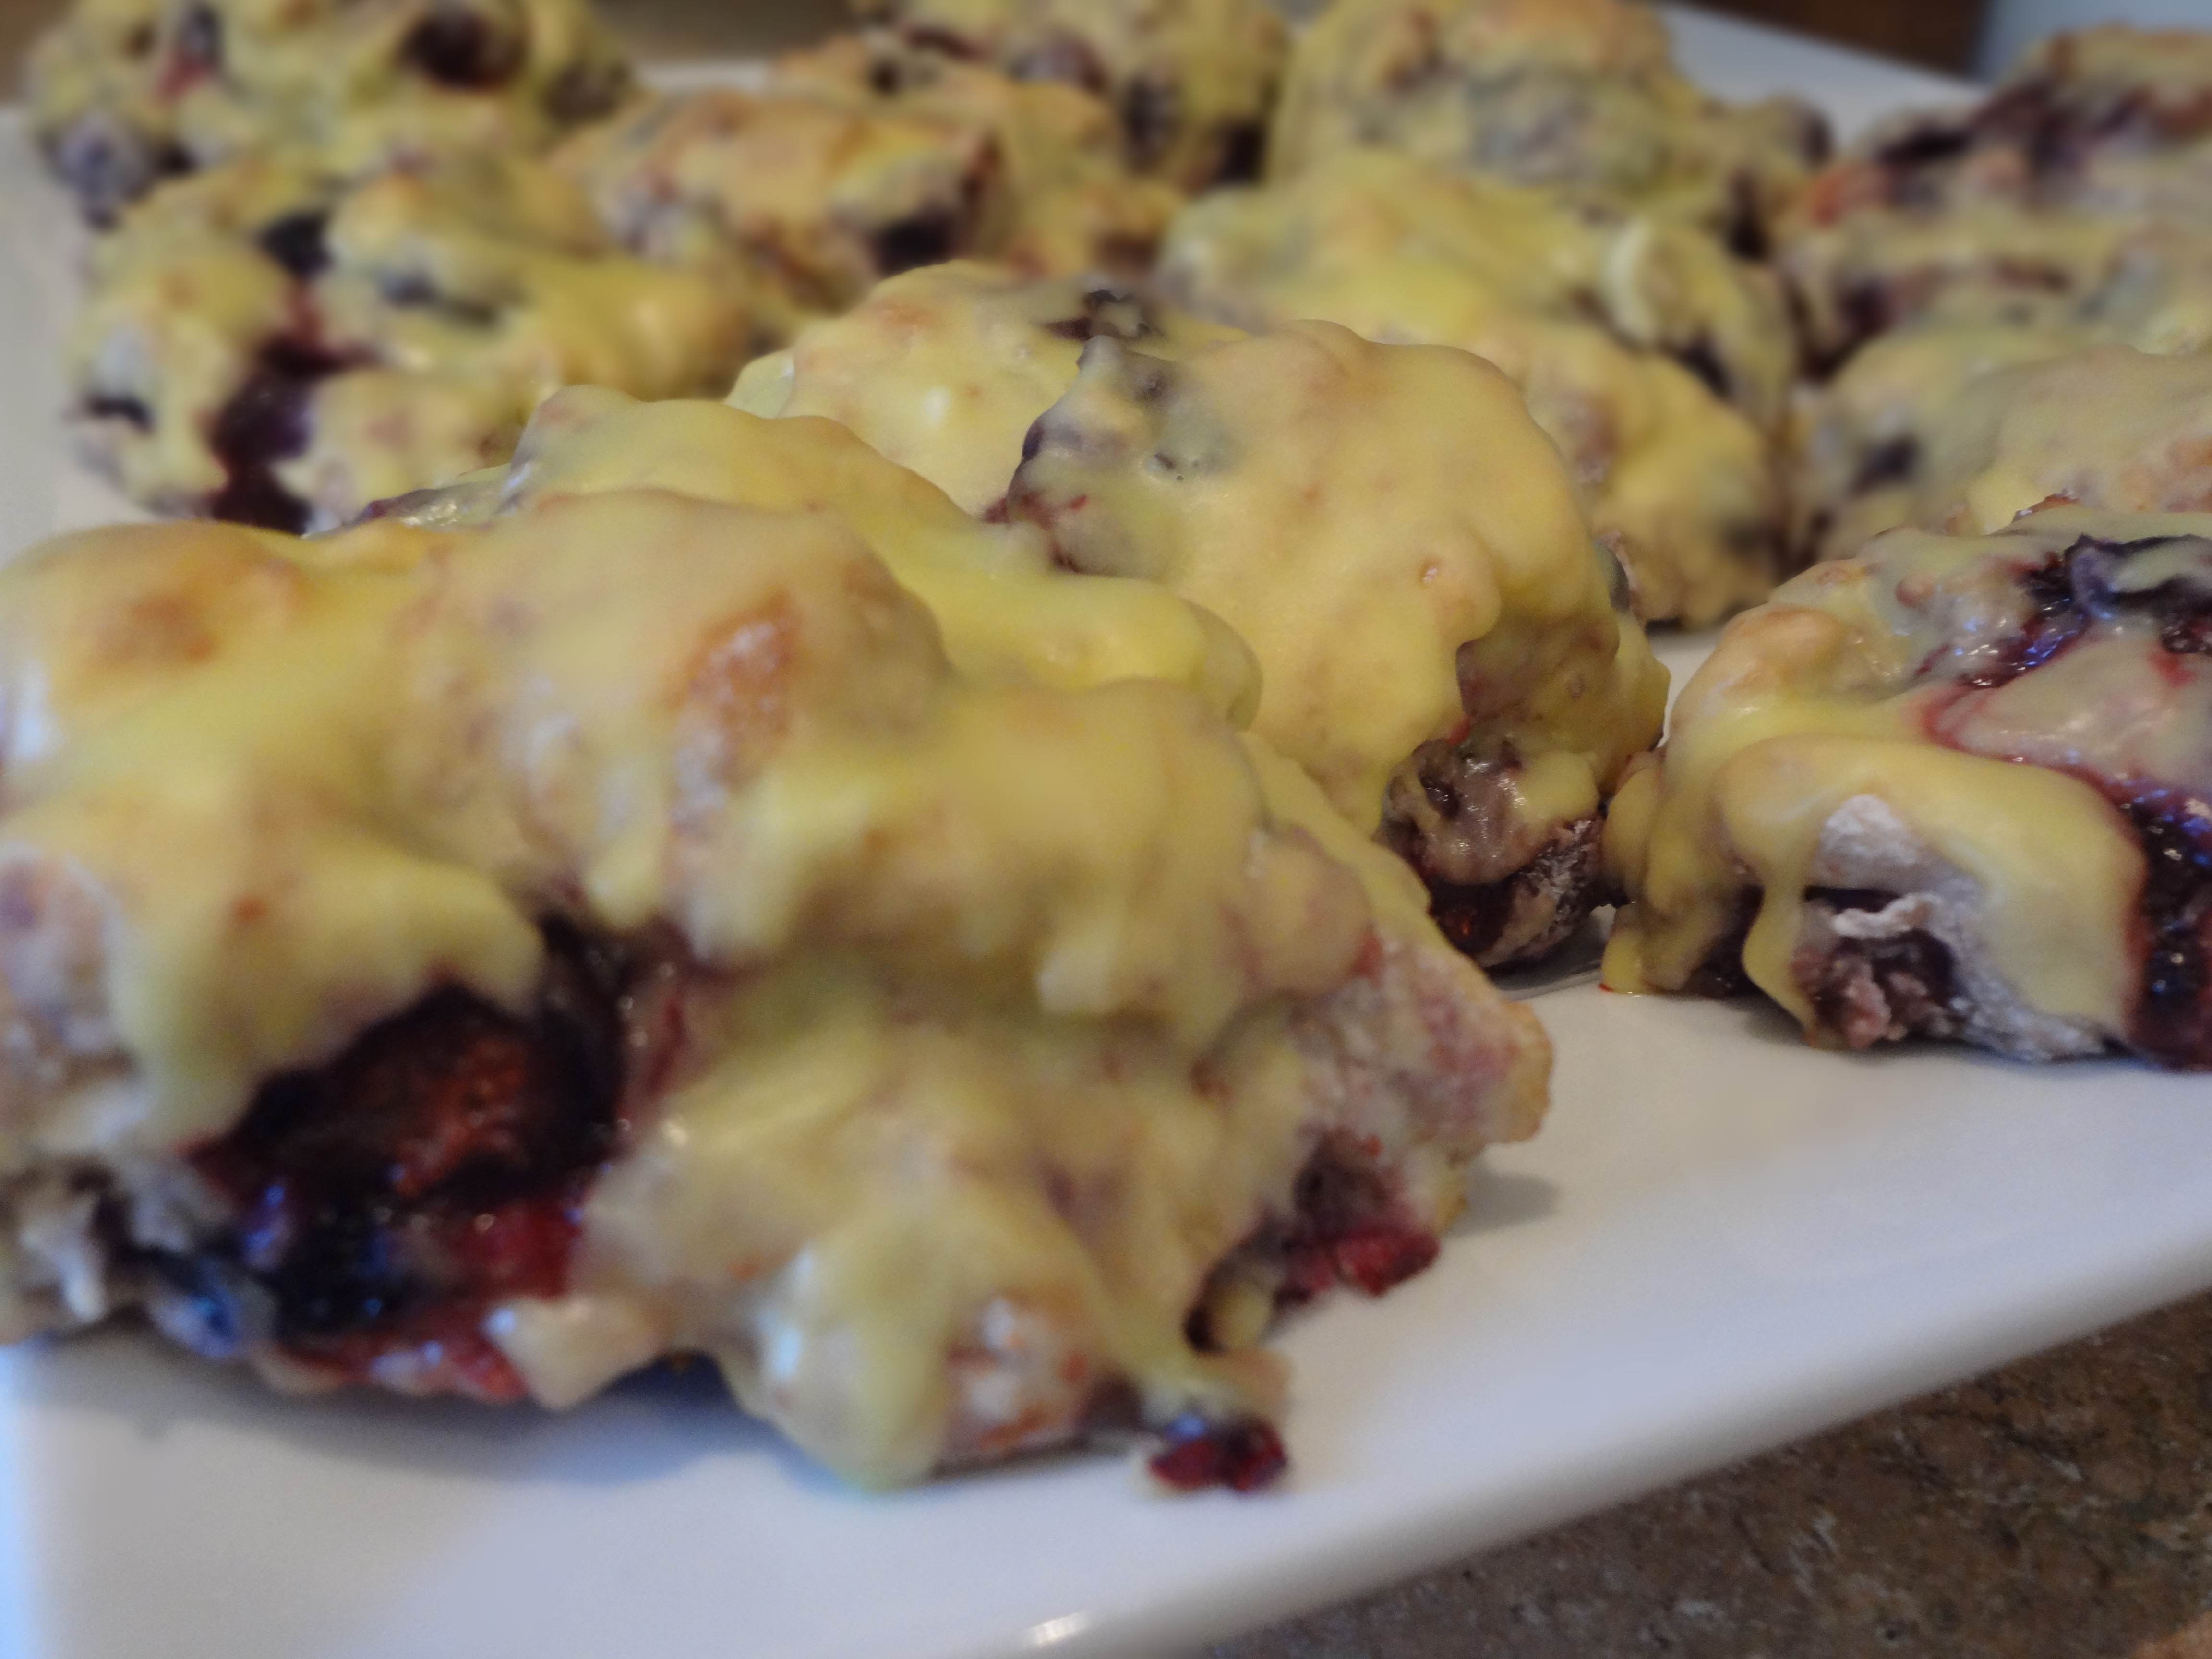
The final result was lemon-blueberry scones with a lemon glaze.  Honestly, I made a mess in the kitchen. A big one! They also didn’t turn out beautiful and well shaped like the scones you might find at Starbucks. Oh well! I should have waited until after dinner, but I had one right away just to make sure that they tasted okay. Let me tell you – they were awesome! Yay!

So here are the lessons learned today: Simple ideas might not be simple to execute and messes can be worth the results!


There is a first time for everything May 9, 2012

Filed under: Children's Ministry,Cooking Experiments — Amy Scott @ 1:51 pm

For Christmas I received a mini-bundt cake pan from my sister-in-law and brother-in-law. I had requested baking cookbooks for Christmas and I was amazed to find that each gift from the Scott’s revolved around the baking theme. I will admit that I’ve never made anything “bundt” shaped in my life before. I was excited to receive the gift, but then sadly it sat in my cabinet… for 5 months. Sorry, Nate and Beckie! Last night, I decided now was the time to try this new piece of cooking equipment. Since I’d never used a mini-bundt pan before, I did learn a few valuable lessons from trial and error. One lesson being, don’t over fill the ring… My first batch looked more like cupcakes with funny bottoms! Oh well, I cut off the over-filled sections and munched on them while filling the pan again – this time with less batter! I assumed most bundt cakes are frosted with a glaze, so I used my best trick for glazing. I melted lemon frosting and put it in a frosting bottle so I could control the drizzle. The end result was pretty good if you ask me! I’m excited to share these little cakes with my class of 5th/6th grade girls tonight. I’m so lucky to have a group of ladies to bake for each week! I get to play around making goodies in the kitchen and then I get to share the results! Seems like a win-win situation to me!


Bunny Multiplication February 29, 2012

Filed under: Cooking Experiments — Amy Scott @ 10:59 am

I moved to Lewis County at age 12 and I quickly learned something about our rural home – we had bunnies, lots of bunnies. I’m not talking the kind that you keep in a cage and take out to pet. I’m talking about wild rabbits. Now I’m sure rabbit is a more appropriate term for these animals, but in my mind they are bunnies and always will be. Bunnies just sounds cuter and less likely to give you rabies. Okay, now for those of you who follow my blog, I’m sure you know that I am not a nature girl. I don’t enjoy raising animals (unless you consider my one fluffy, 12 pound dog something to raised like livestock), I don’t hunt or kill animals for sport or fun, I don’t have animal posters or calendars around my house. My philosophy with animals is leave them alone and hope they leave me alone. So why a blog about bunnies???
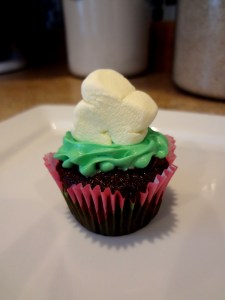
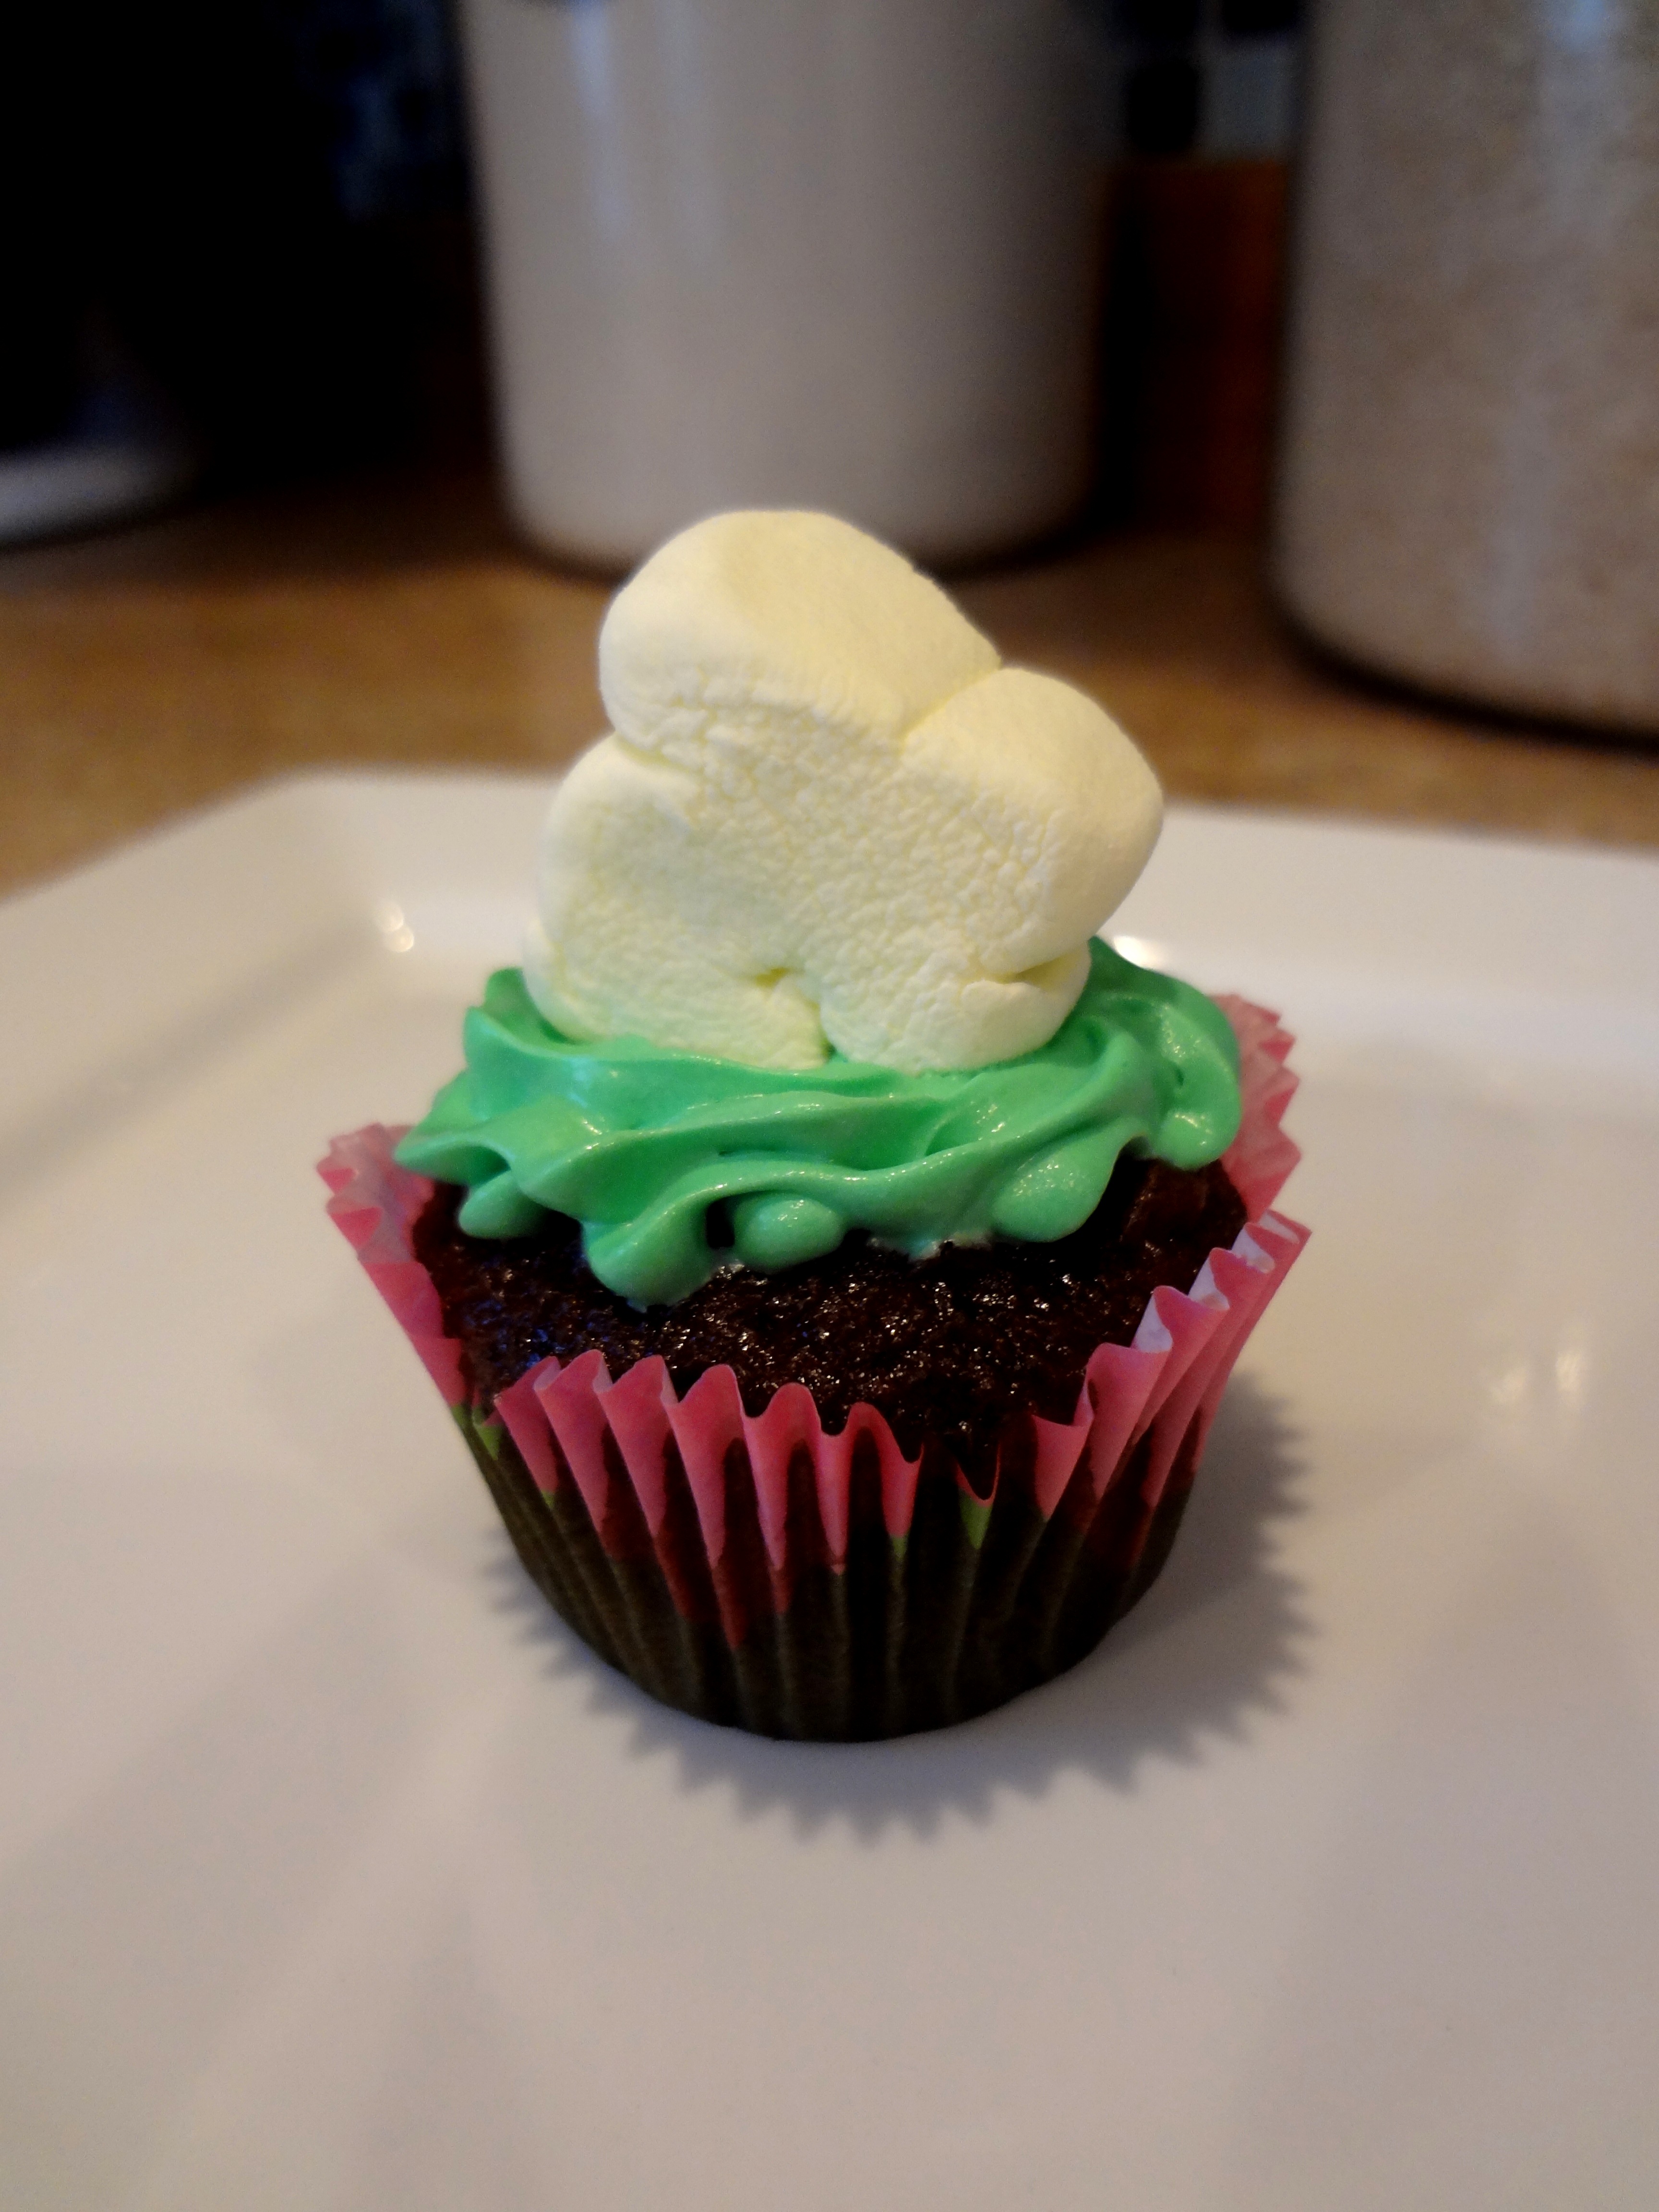
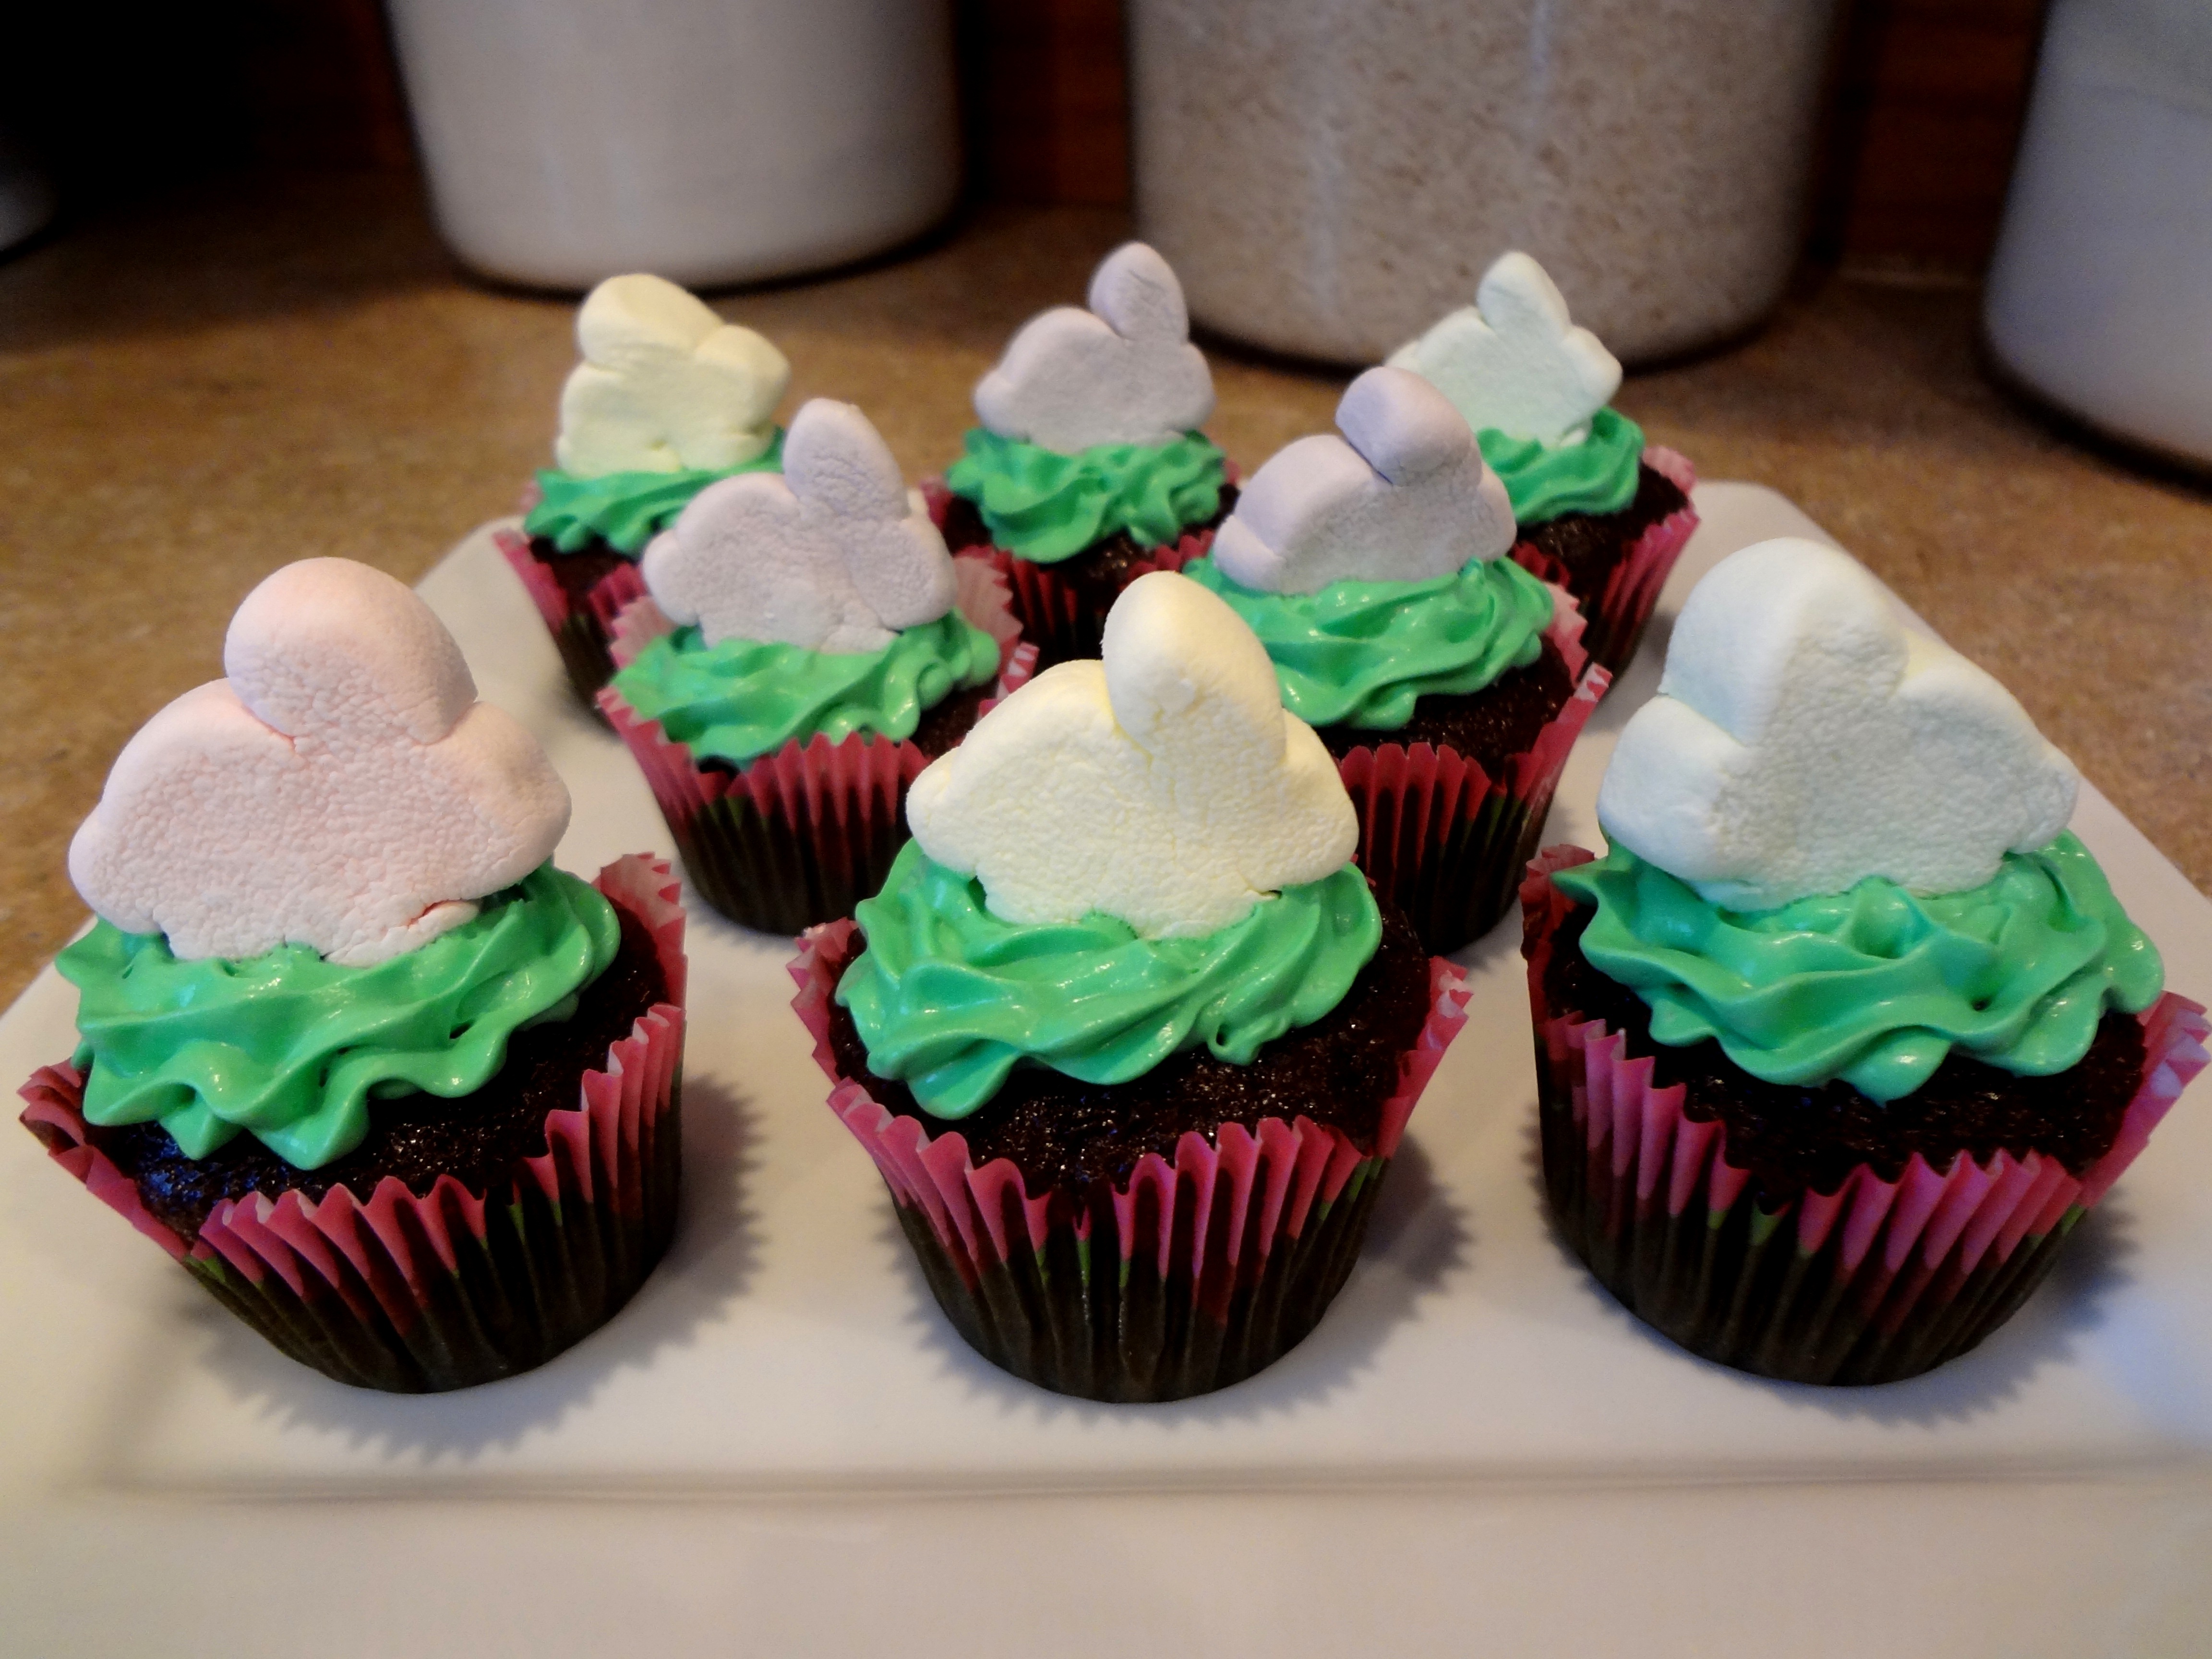
Because marshmallows come in bunny shapes! You should know by now that marshmallows are something I keep around my house (more than animals). A couple of weeks ago, I was at Walmart looking through the spring/Easter section. I was looking at the baking cups and admiring all the cute designs and patterns. I settled on getting mini-cupcake baking cups that look like flowers. I really liked the full size cups that looked like flowers, but the cost for just 12 baking cups was absurd. I like to spice up my baking with cute elements, but I will not spend an arm and a leg on it. Especially since my treats are going to be ingested by 10 year olds, not the judges of cupcake wars. Maybe then I would spring for the high class baking supplies. Once my baking cups were selected I went happily along the way to do the rest of my shopping. Jeremy and I have a flow at Walmart that starts in the toiletries section and works around through home then cleaning to our final destination – the food section! As I was picking out my cereal, I noticed an end cap with Easter marshmallows all over it! Many different kinds in spring pastel colors! It was beautiful! In that moment, it all came to me! I would use my mini-flower baking cups to make cupcakes that I would use green frosting on like grass and then put the bunny shaped marshmallows on top! Once I saw the vision for this baking project I had to go for it! I do realize that grass doesn’t grow inside flowers, so the chance of a bunny sitting on grass inside of a flower is very slim in nature, but I figure in the cupcake world it wouldn’t be a problem!

Last night, I was feeling a bit brain dead and was contemplating what snack to make for my class. I knew that I had chocolate chips and part of me just thought a basic chocolate chip cookie would be easy and not take a lot of effort. However, my desire to always do something bigger and better took over. I decided to make a new recipe… Apparently you really need to bake the cookies on parchment paper – something I don’t keep in the house, but probably will from this point on. I have such great faith in my favorite baking sheets that I hoped the cookies would turn out okay without the parchment paper. They sure tasted good, but they were a challenge to get off the sheets and some cracked and now look a little strange. Making major mistakes is a perfectionist’s nightmare! Some you might have served the cookies I made to my class because they taste good and overall look like cookies, but I won’t. I have too high of standards (aka pride… I don’t want to be made fun of by my class who happen to be 15+ years younger than me. Yup, pride does weird things to a person). It was already late in the evening, but I knew I had another baking project idea up my sleeve – the flower bunnies! I baked the cupcakes last night before bed and then decorated them this morning. Now I should remember that chocolate cake makes the pattern on baking cups show up less and unless I wanted to double cup my cakes, I was in a pickle. So yes, next time, yellow cake will be used when I have a patterned baking cup. However, despite the chocolate color, I think they turned out pretty cute. I used my Pampered Chef frosting bottles to create the grass like effect and started from the outside and worked my way around to the inside of the cupcake. After the green grass was laid, a bunny was promptly placed on top. I’m hoping the bunny that is placed in the fresh frosting will allow the frosting to dry around it and cement the bunny in place.
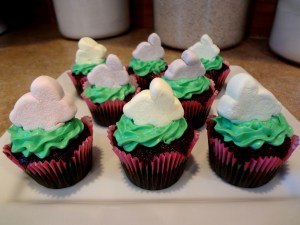
The funny thing about all of this is the baking project I’m sharing is very appropriate for spring. Today it is snowing! I can look outside my window and see snowflakes falling down! So crazy! I realize that spring is still a couple weeks away and that the bunnies that surround my home probably won’t be out of a couple more weeks… so I guess this project is a prelude to spring, a glimpse at what is come! The season where the bunnies awaken and multiply, because we all know that is what bunnies do best!

PS – Happy Leap Year!


Back to baking January 30, 2012

Filed under: Cooking Experiments — Amy Scott @ 4:37 pm

At the end of December, I took some time off from my weekly baking projects. Because of the holidays, most of my classes in December were canceled, so I had no kiddos to bake for. I also came down with a head cold that inspired me to buy goodies for family gatherings instead of poison my loved ones with my cold germs. Christmas rolled around and I was overwhelmed with many baking themed gifts from my in-laws. I got recipe books, special baking sheets, spatulas, oven mitts… With so many gifts focused on my passion for baking, I felt that I would start 2012 off in a yummy way. The sad thing is… I didn’t… My first baking project in 2012 was a total flop. I had a box of gingerbread mix left from the holidays and I set forth to make my class of girls some ginger snaps. I was still on cold medicine at the time, so I’m going to blame for the drugs for my mistake. I added too much water to the mix. As I poured the water into my kitchen aid, it didn’t look right. I picked up the box to see that I had added 1.25 cups of water instead of the needed .25. What do I with an extra cup of water in there? At first, I started to scoop at the water since it wasn’t mixed in yet, but it was starting to dissolve into the mix and I wasn’t sure if I was taking out mix with the water. I then decided to add flour to thicken the mix and try to get the batter to the consistency I thought it should be. Well, when these gingersnaps baked up they were funny shaped and had a funny texture. Sadly, the batch of cookies went into the trash. Since I had to come up with something to feed my girls and I was too tired to brainstorm and complete another baking project, I decided to bring fruit snacks and granola bars from my pantry to class that night. What an epic failure to start of the new year with!!! I had all these hopes and vision of 2012 being the year of baking where I really provided my class and loved with new goodies and where I mastered more skills in the kitchen. This baking project kind of took some of the wind from my sails. However, I am happy to report that the next two weeks of baking where much more successful. I made some molasses cookies for my girls two weeks ago and last week I made an oatmeal chocolate chip cookie using white chocolate chips, milk chocolate chips and coconut. Very tasty!!! I’ve already started to ponder what I’ll be making my girls this week… After two better baking experiences, I feel like I’m back in the saddle again and I’m ready for a year of baked goodies!


Cookie Exchange December 23, 2011

Filed under: Cooking Experiments — Amy Scott @ 11:07 am

Let’s try this again! On Tuesday, I tried to write a blog about my cookie exchange experience, but sadly, I hit the wrong button and there it all went – poof! Gone! I was so frustrated that I didn’t try again. So now I’m trying again… but I will admit that since then I’ve developed a head cold so my brain is fuzzier than when I first tried. Let’s call this the cliff notes version of my previous blog. Sorry, folks!

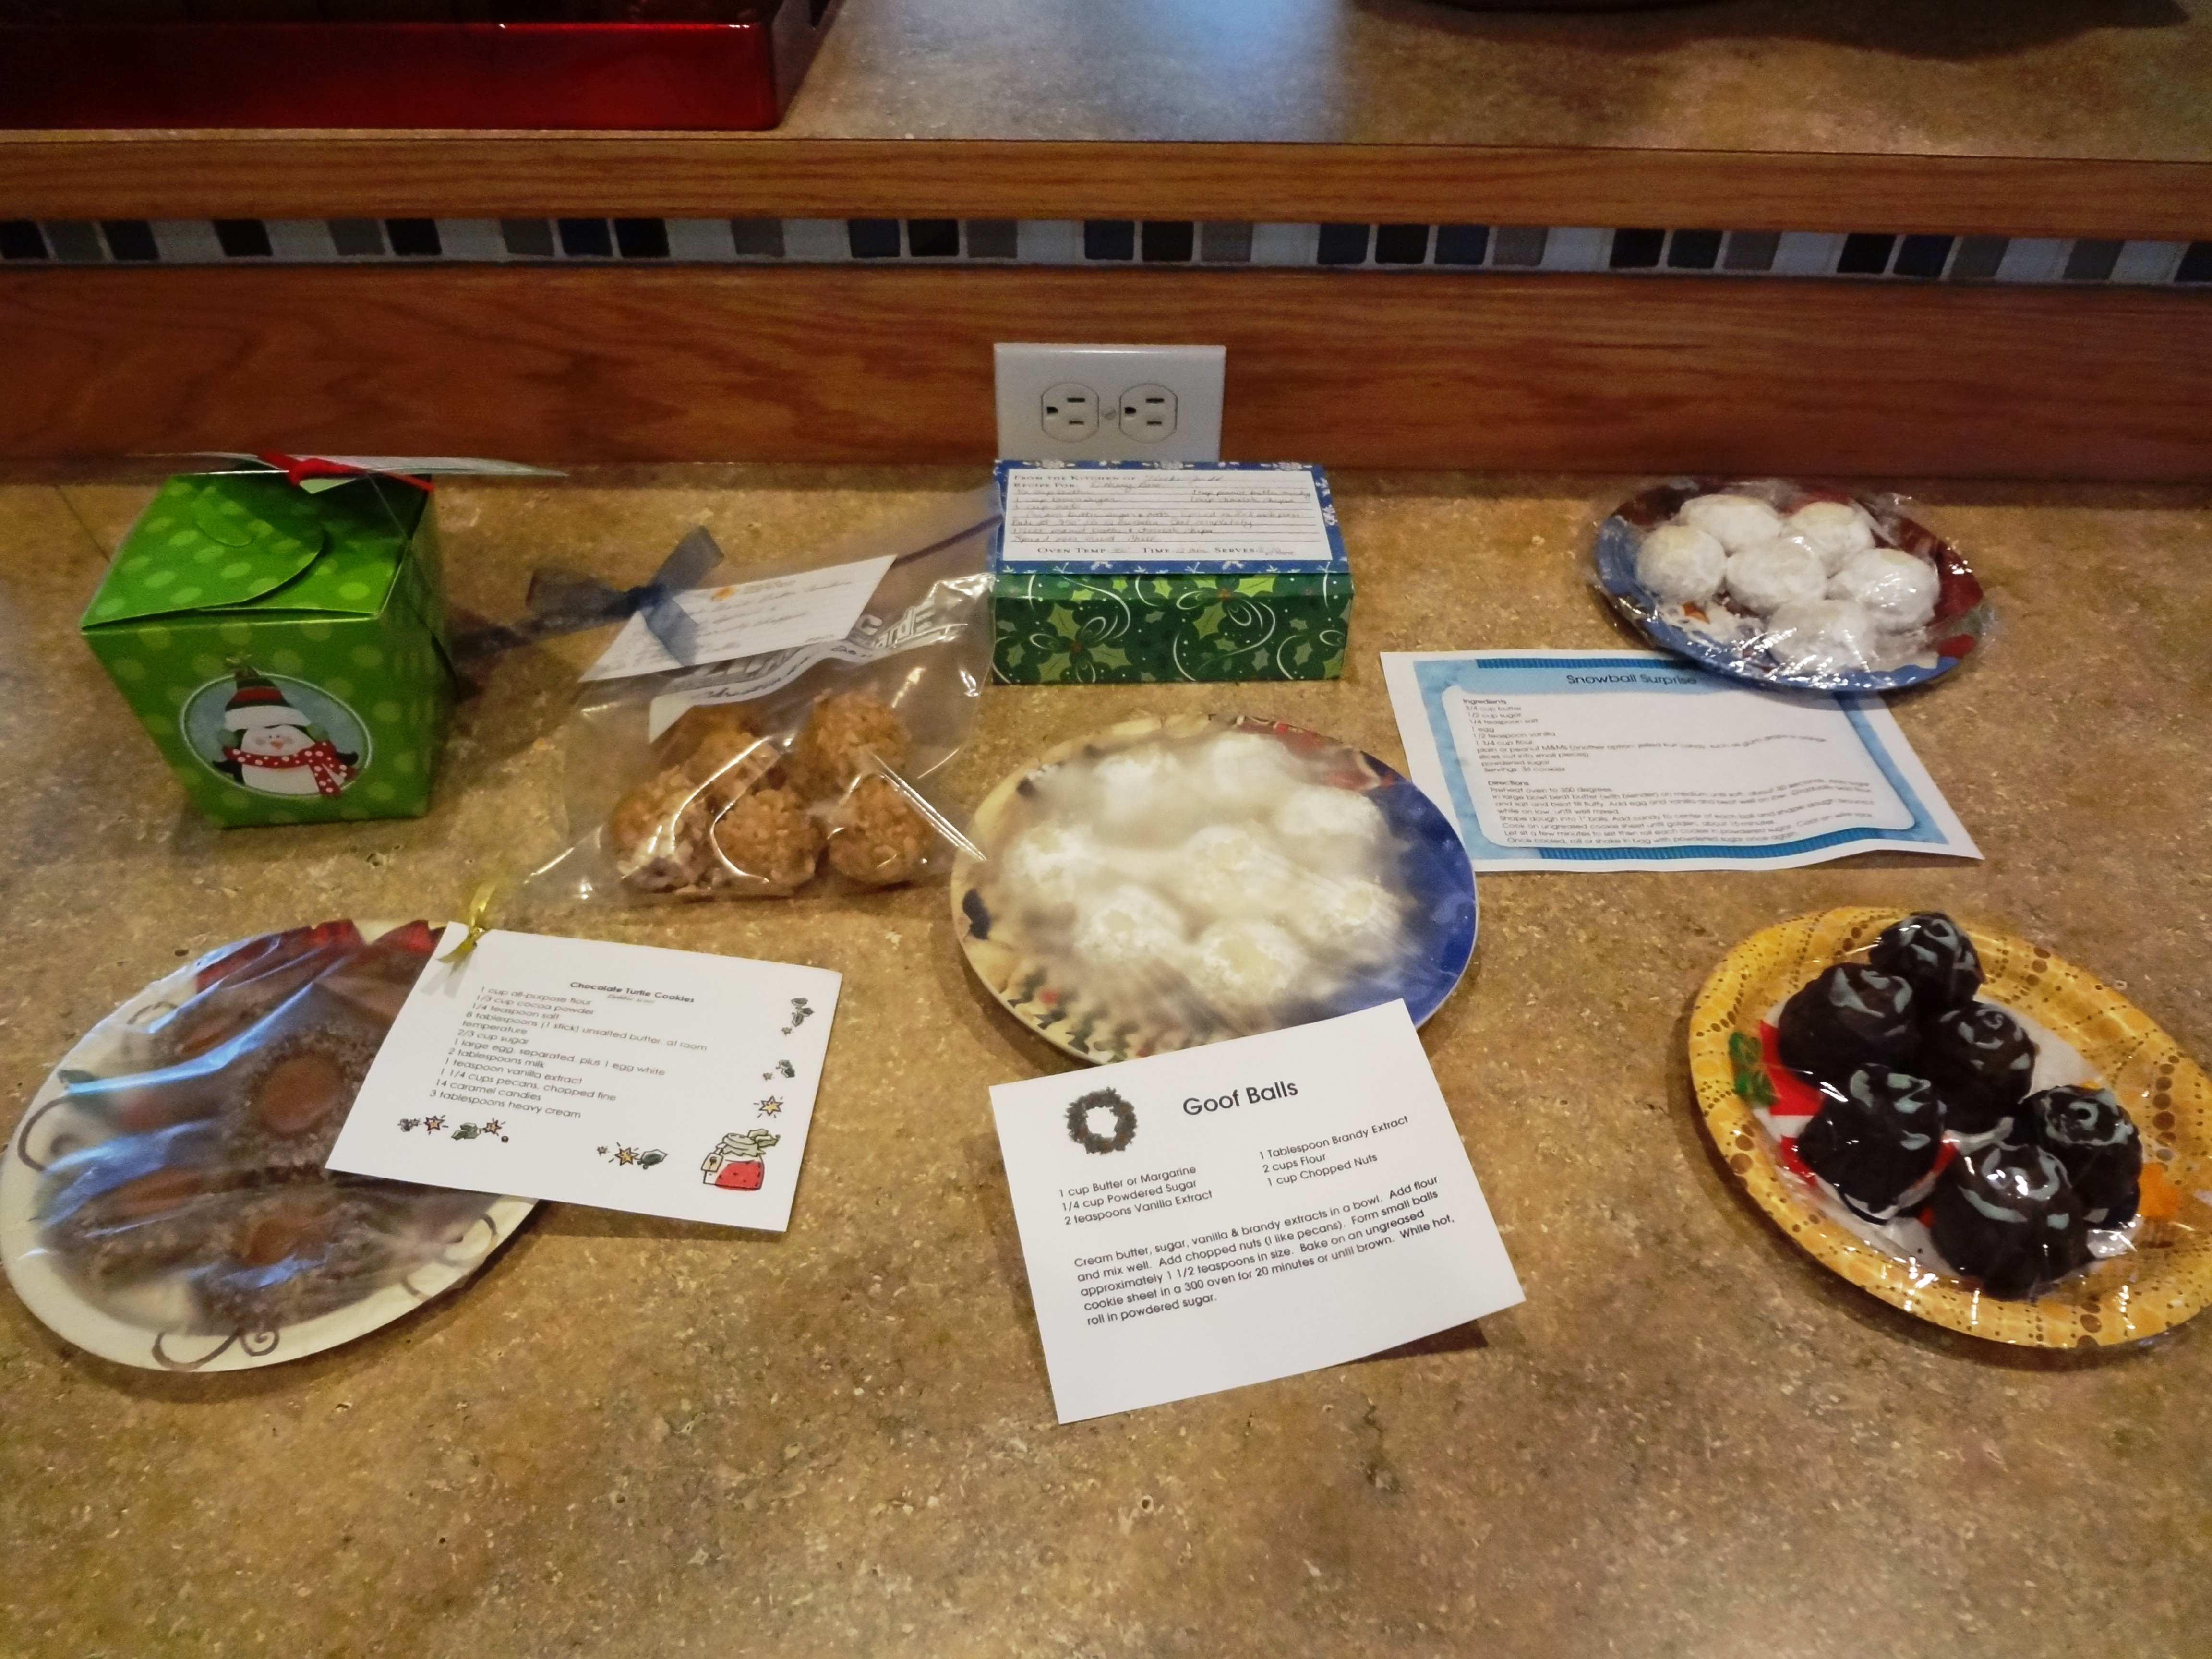
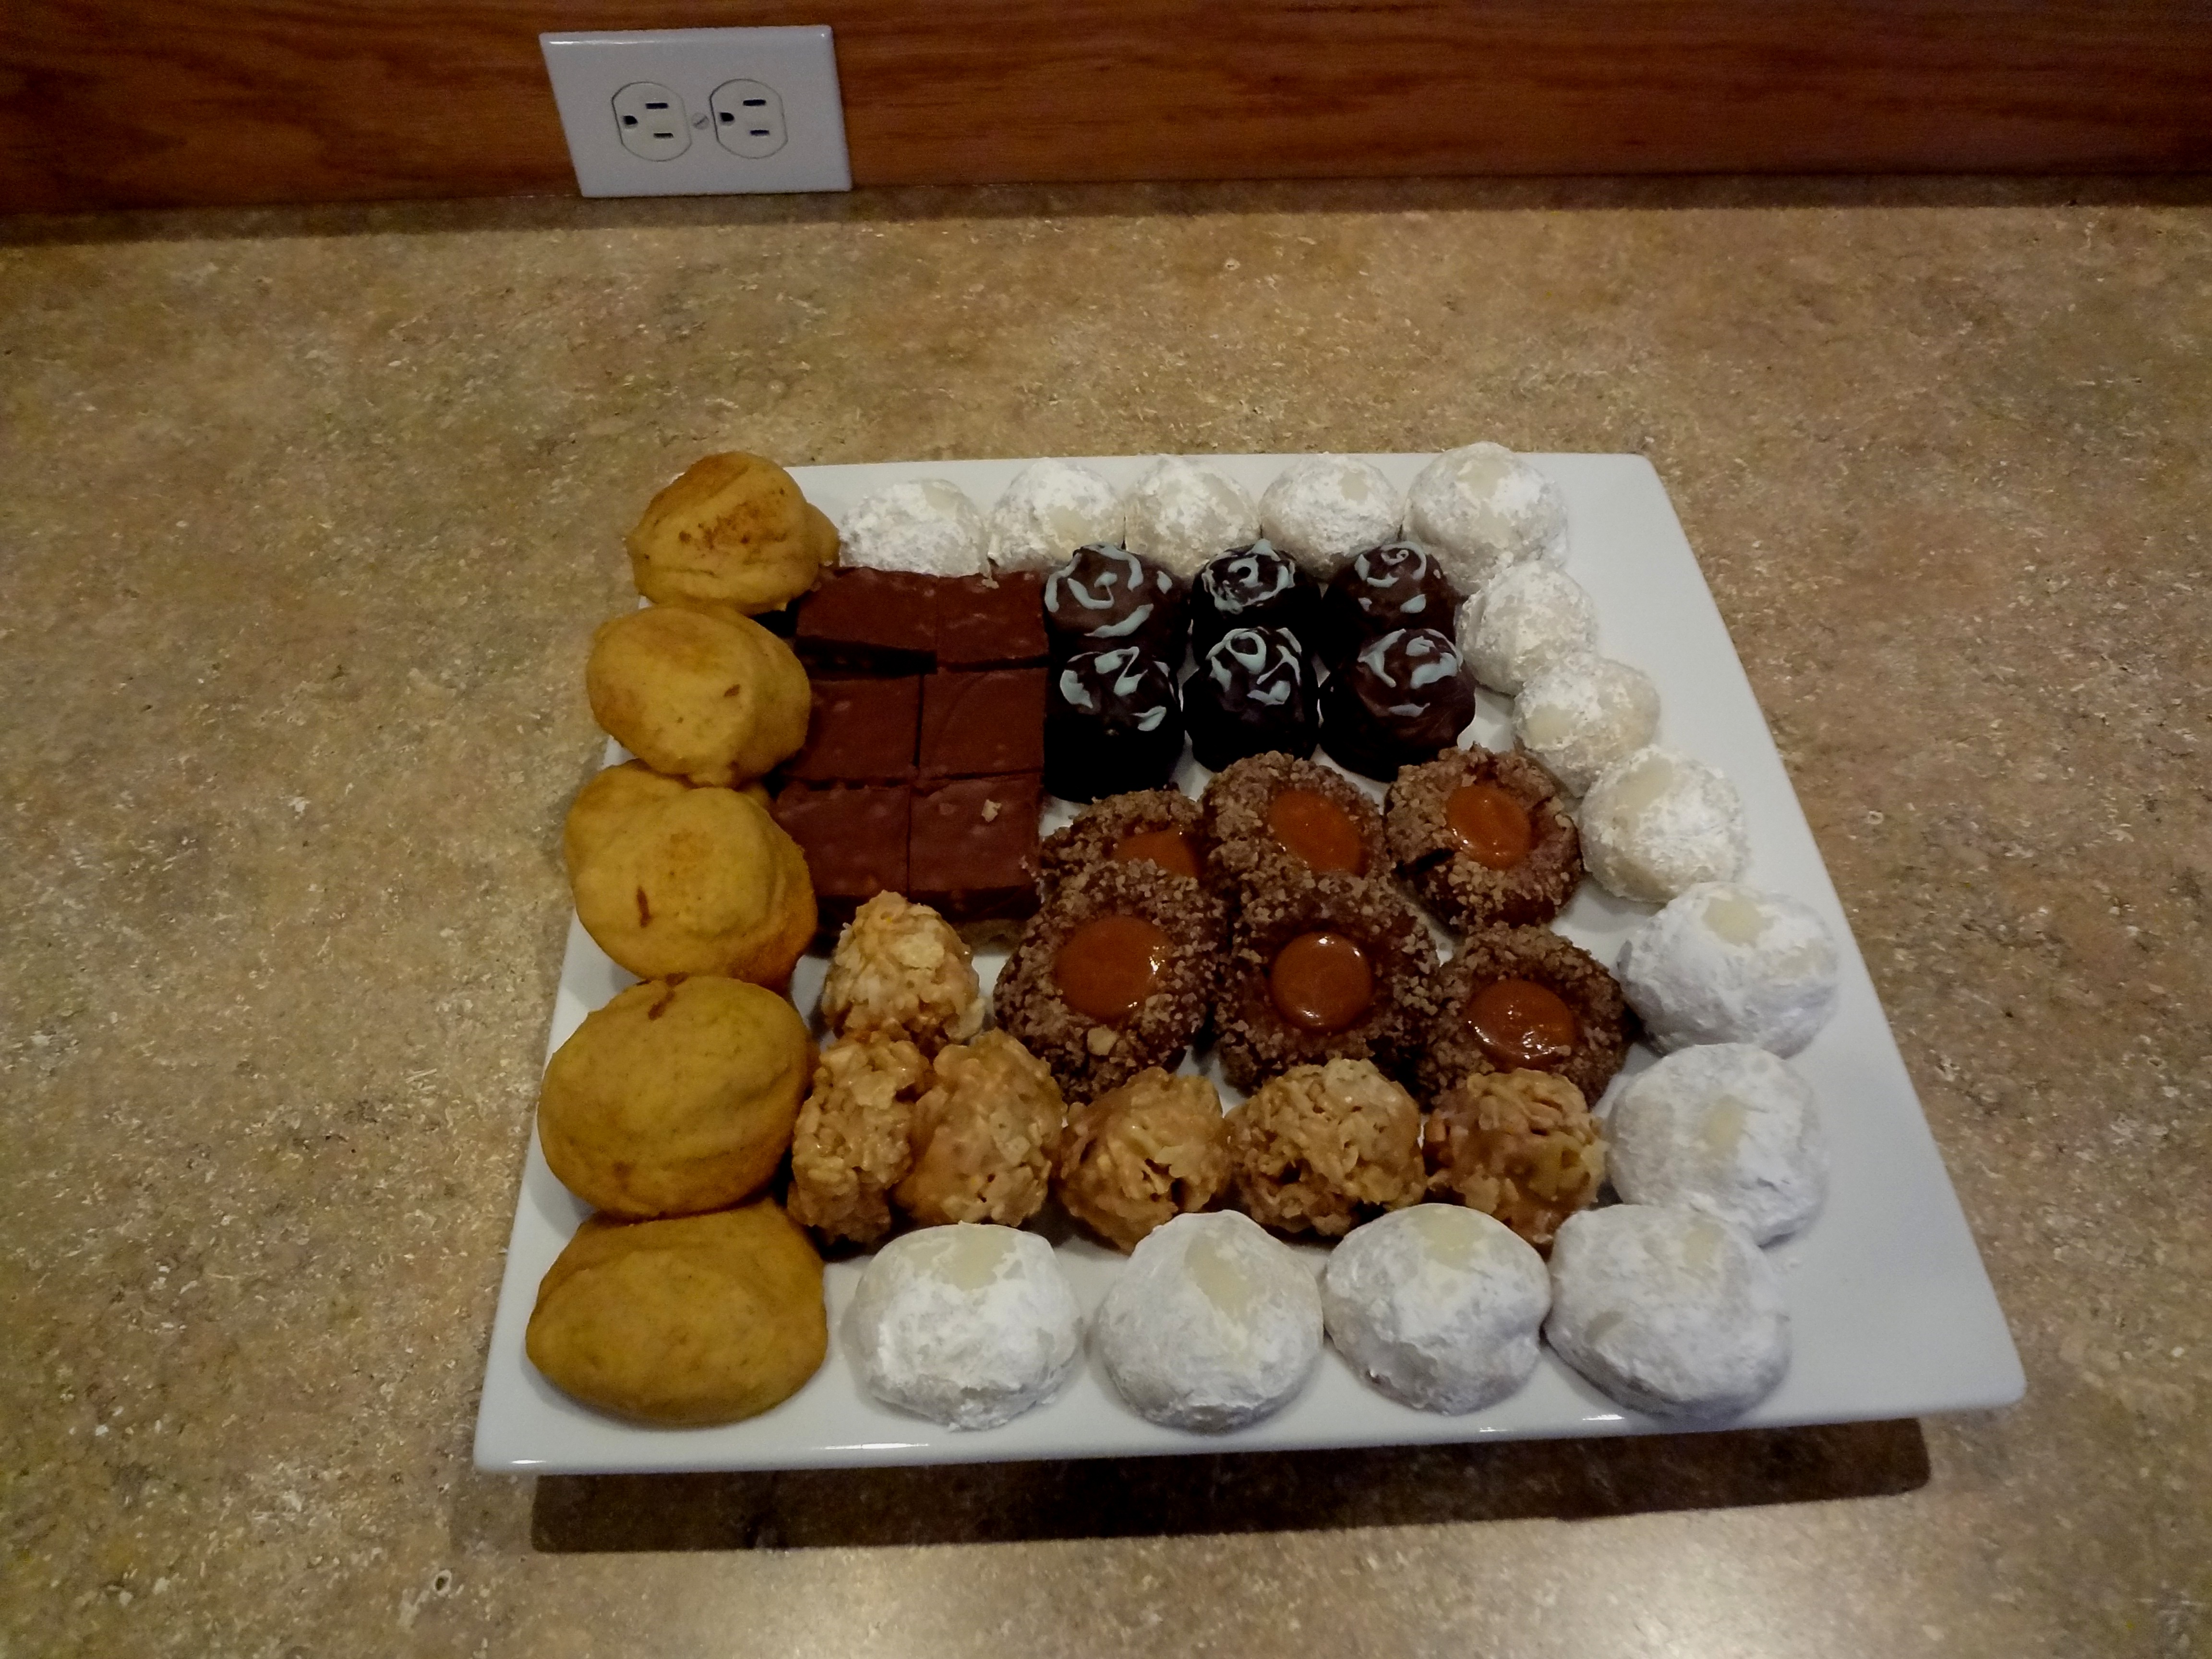
Our office ladies and pastors wives have put on a Christmas cookie exchange the past two years. I didn’t make it the first one – only my cookies did. So this was my first real experience other than the baking. I picked a way too complicated cookie last year. I had learned from my mistake and chose a drop cookie this go around. Also we all learned that a dozen cookies each was too much. It was a lot of baking, but in return we were all left with a lot of cookies to eat. We changed the number to a half a dozen cookies for everyone. This was a lot more manageable and gave me a nice platter of cookies right before the holidays with a lot of company coming into town.

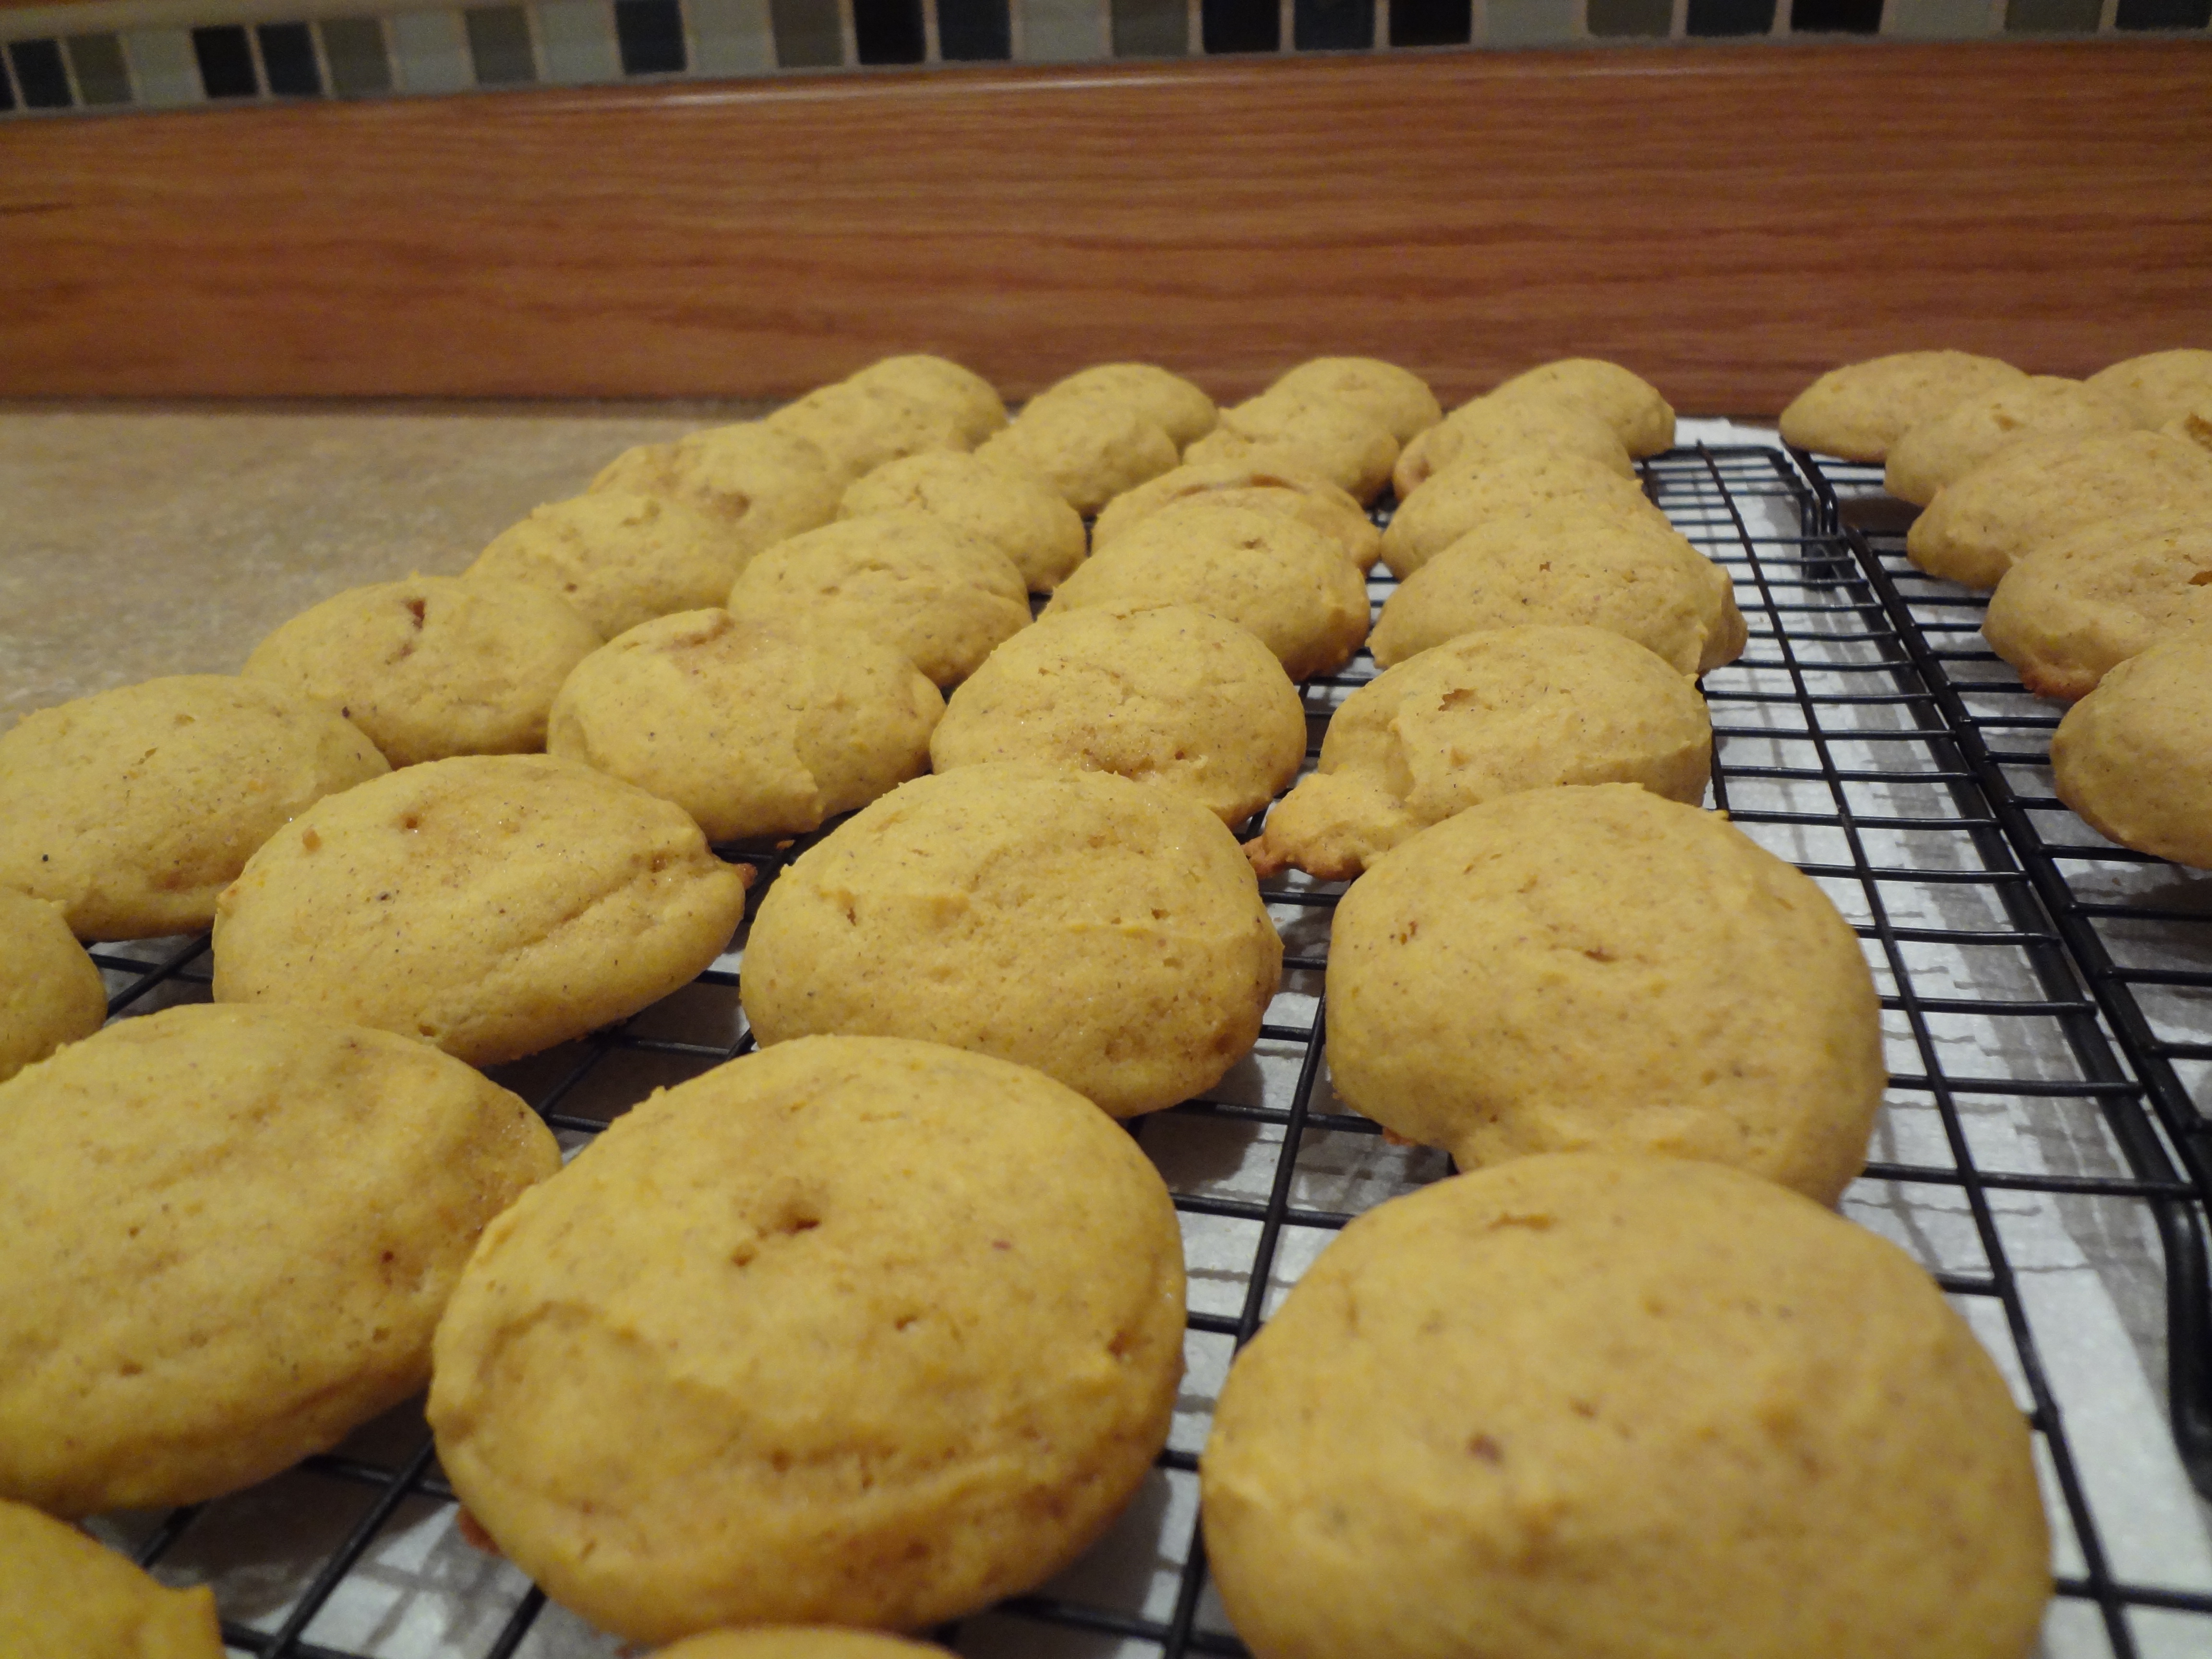
I knew that I wasn’t going to the store before I needed to bake the cookies. This left me the option of anything in my pantry which was starting to become limited. Jeremy and I are in a phase where we eat everything before we go back to the store. Needless to say, I was low on a lot of items, but not pumpkin. We had purchased four cans before thanksgiving and had only used one up to that point. I decided on a pumpkin cookie from a cookie magazine. My mom is no longer eating sugar so she gave me a bunch of Christmas cookie magazines since she would no longer need them. It was hard to decide what cookie to make since I had so much inspiration! The pumpkin cookies were very soft and cake like. I really like baked goodies like that.

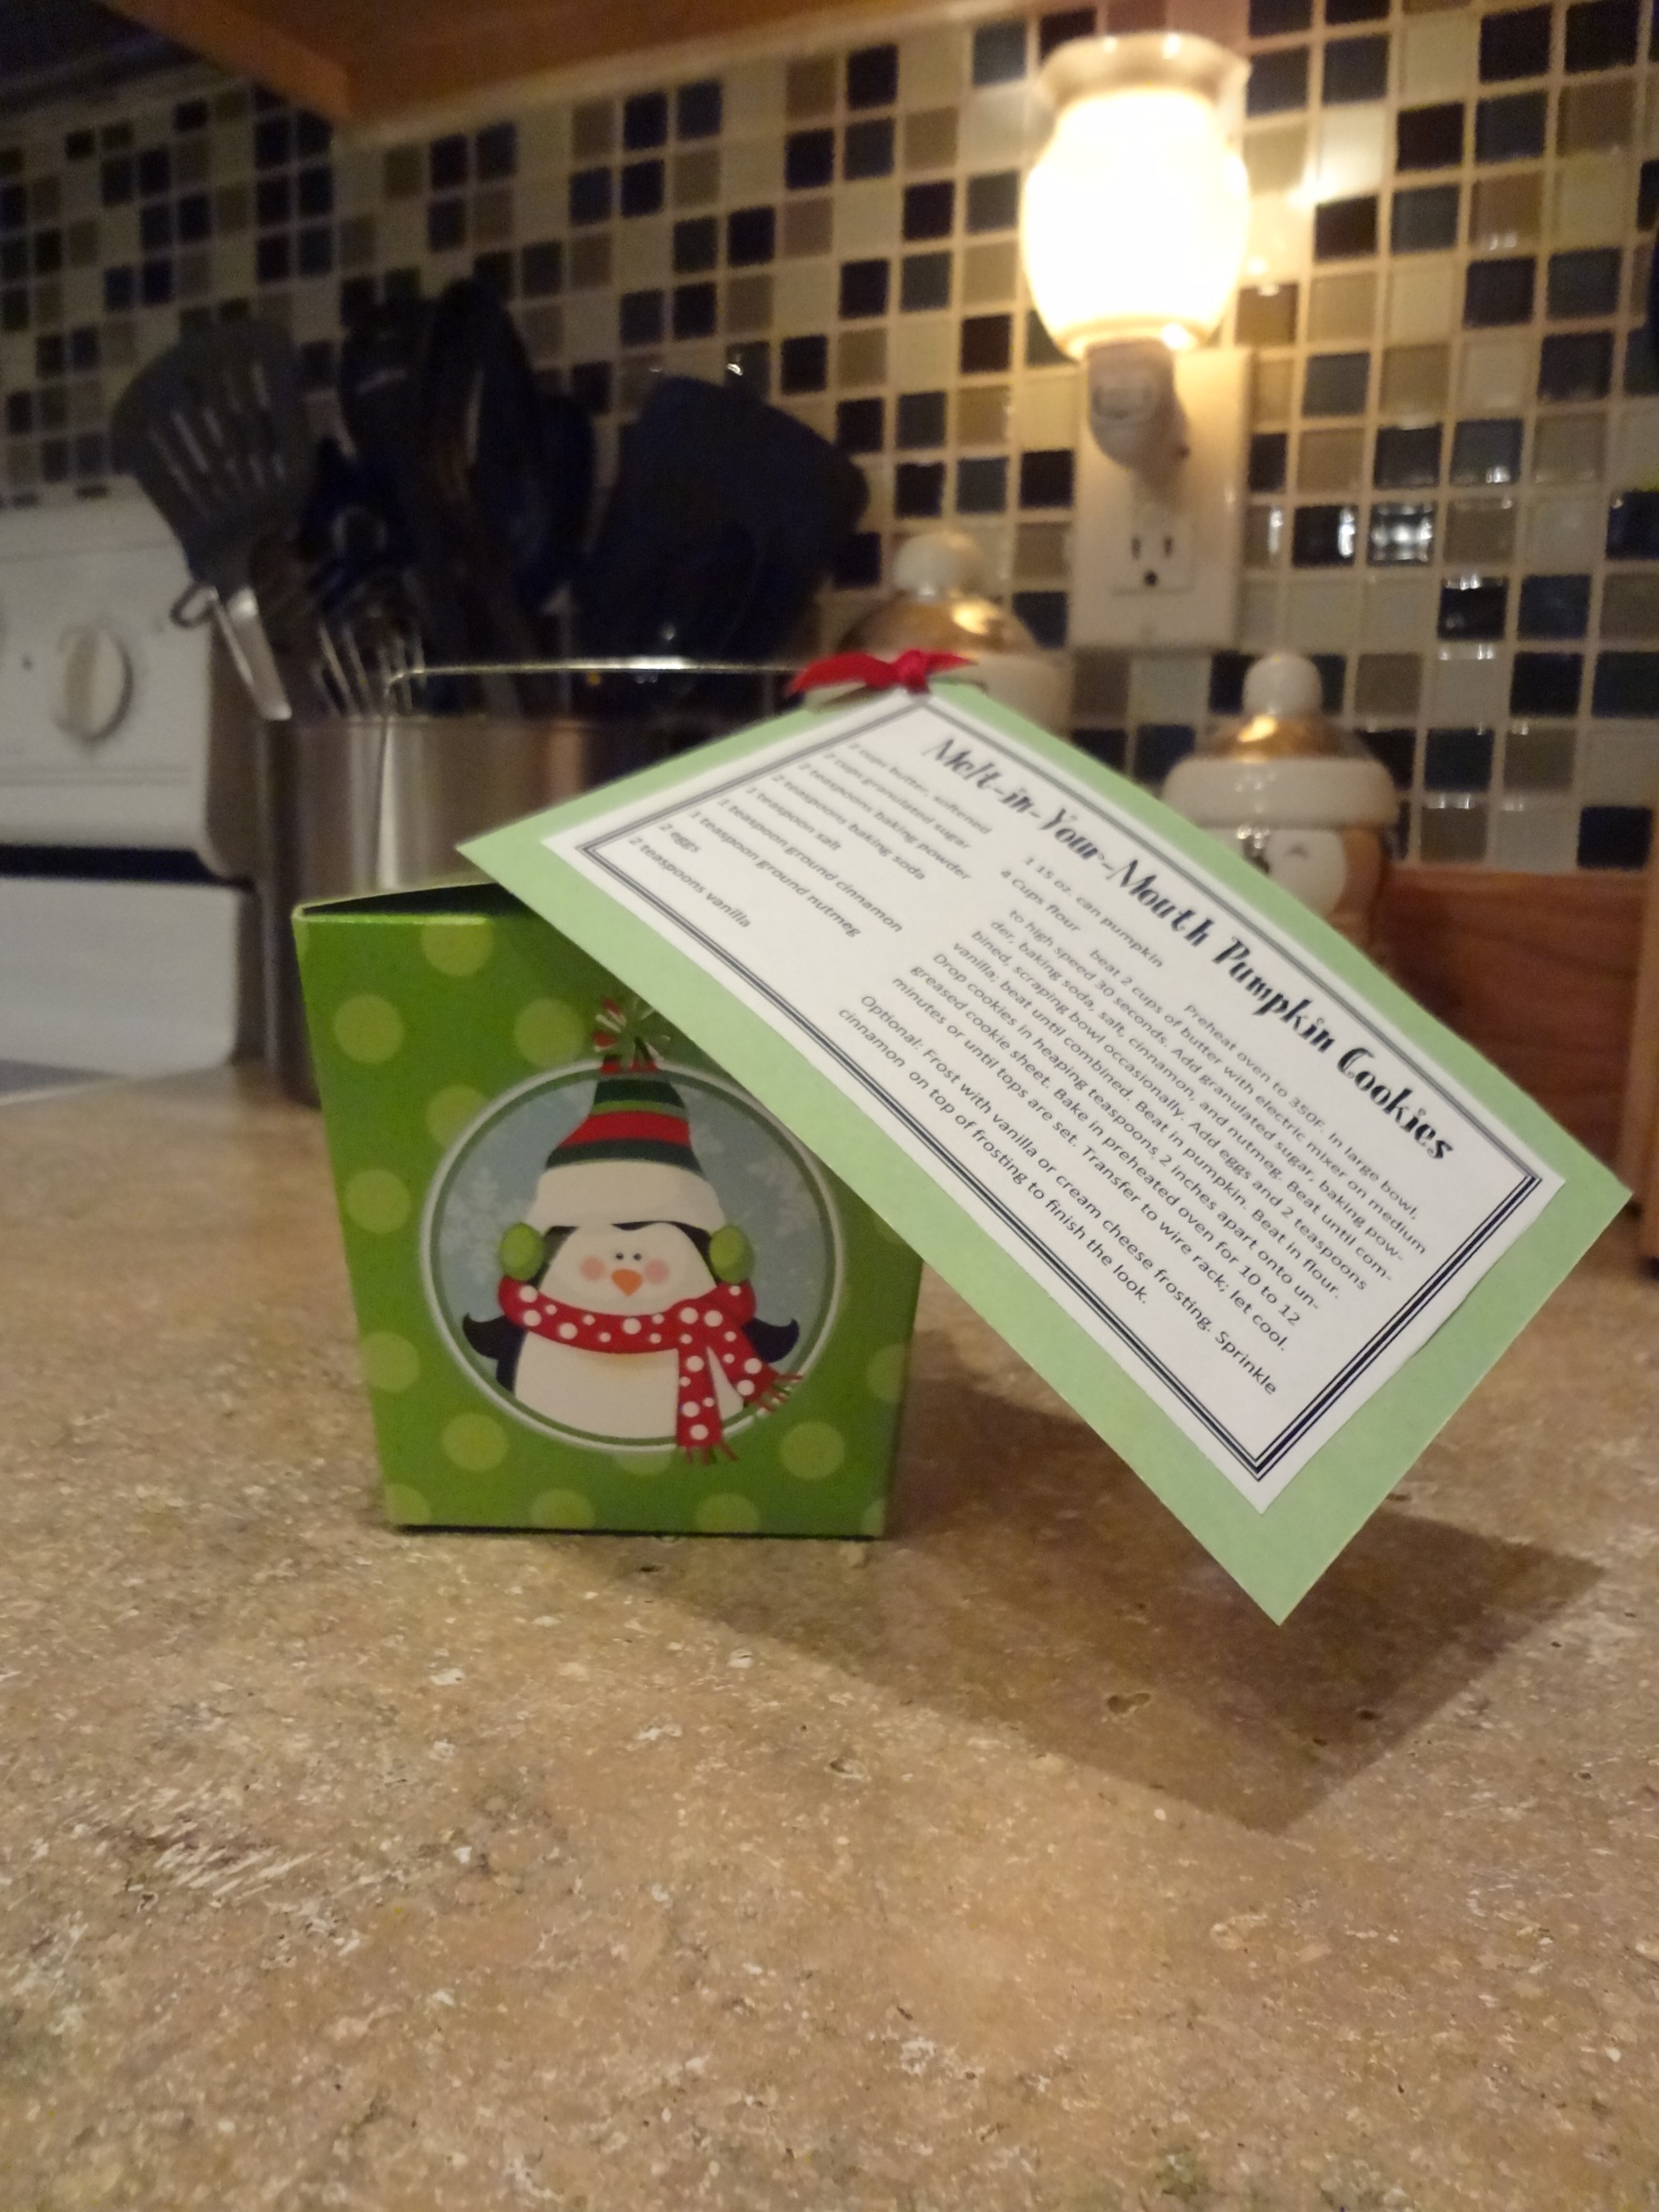
Now I was supposed to frost them and sprinkle cinnamon on top. The day before I had purchased paper boxes that look like take-out containers. They had penguins on them and I couldn’t refuse the clearance price of forty-nice cents! Since these boxes were already purchased, I thought the frosting situation might make them a bit too messy. The cookies would be good both ways, I’m sure. They tasted great without frosting, but I’m also sure they would be amazing with frosting.

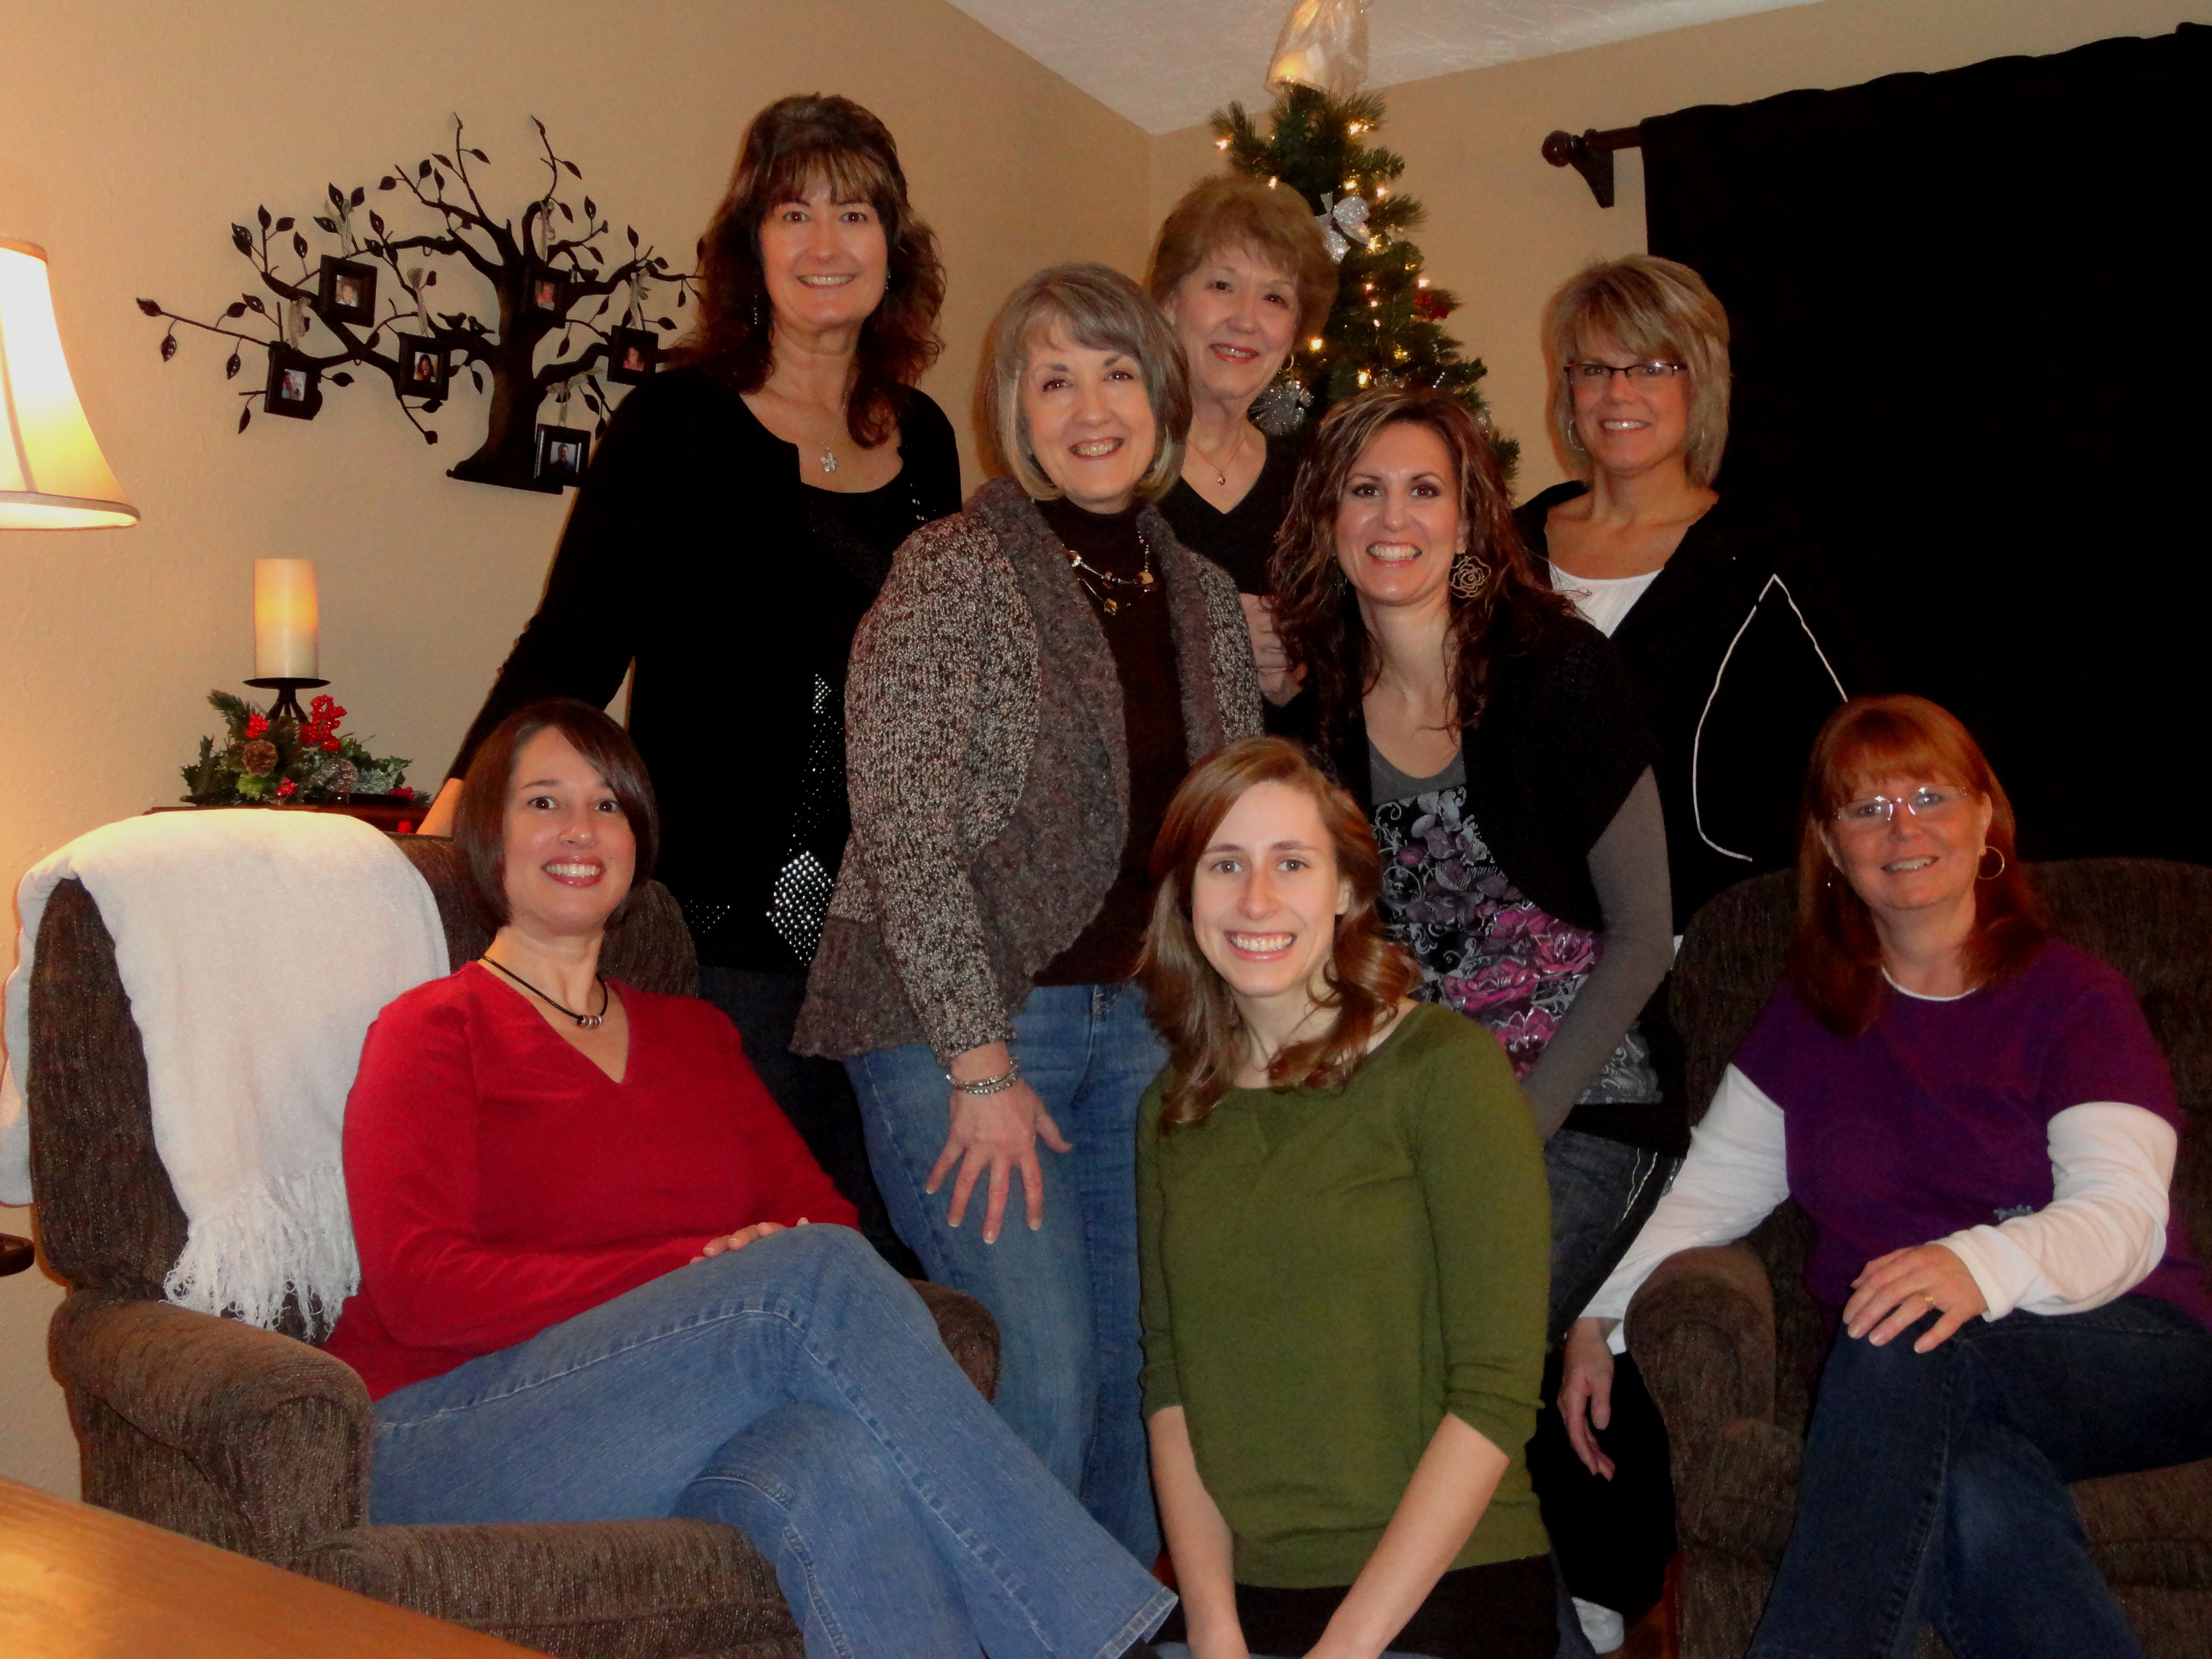
We met at my mother-in-law’s house (she is the Director of Operations at the church). We enjoyed a Christmas brunch, a small birthday celebration and exchanged the cookies. It was a good time and a nice way to start of my Christmas break. As of now I’m out of the office until January! Yay! I’m just like a kid! I love my Christmas break! I’m not sure that I will get to the blog again before Christmas so let me say Merry Christmas to you all!


Class Christmas Party! December 7, 2011

Filed under: Children's Ministry,Cooking Experiments — Amy Scott @ 2:17 pm

Tonight is my class Christmas party for my 5th/6th grade girls. This is one of my favorite nights of the year! We have so much fun! We’ll have a gift exchange. It’s always fun to see who is brave enough to steal a gift from her fellow classmate. At this age, most are really sensitive to their friends, so the stealing is always very dramatic! As an adult and many years of gift exchanges, I can steal a gift without much remorse. I’m not sure if that is a good thing, but I figured it’s a rule of the game and it’s just a game. It’s interesting to see what the girls go home with. After class I let them barter for gifts they might have wanted but didn’t get. There are often many trades. It’s all apart of the experience!

After the gift exchange, I have worksheets for the girls to do. The first one is to put the 12 days of Christmas in order. When did the pipers pipe or the lord’s leap? They’ll see if they know! The other worksheet is matching “Merry Christmas” in 8 different languages to the correct language. I’m pretty sure they’ll get “Feliz Navidad”, but will they get “Mele Kalikimaka ” or “Buon Natale”. We shall see! After the worksheets, we’ll make a magnet craft and enjoy some yummy snacks!

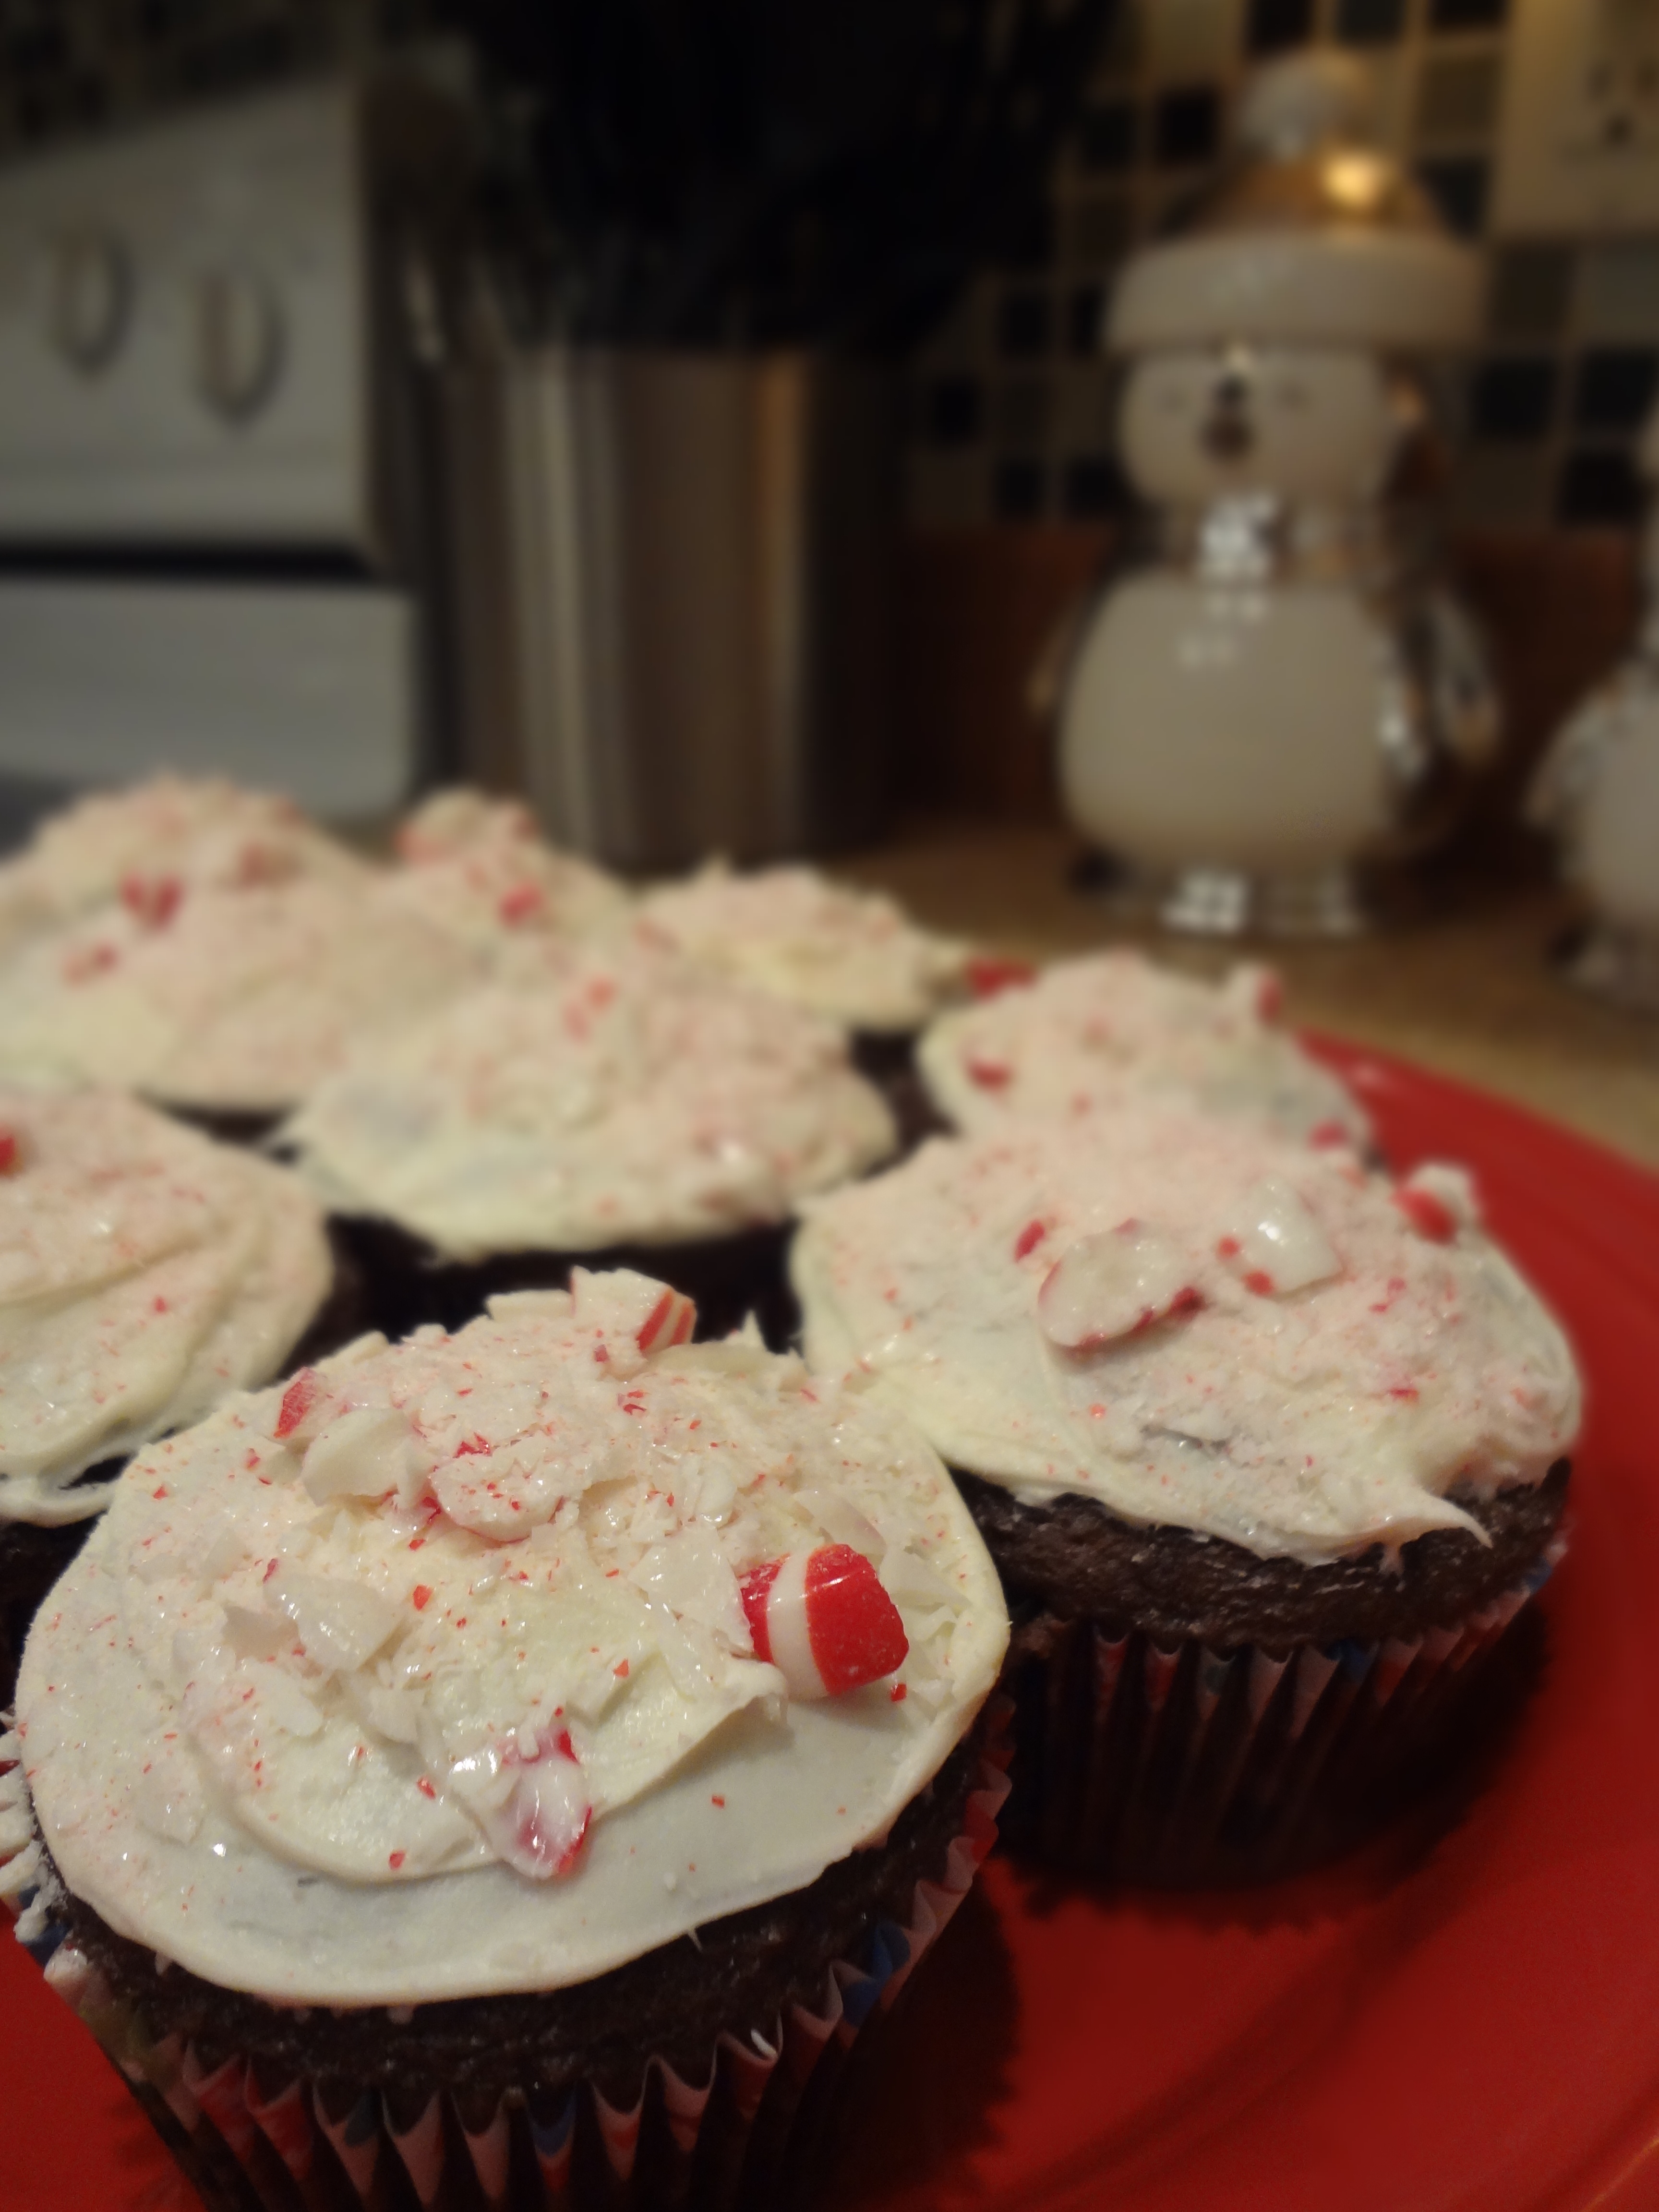
It wouldn’t be a good Christmas party without some great Christmas goodies. A special treat seems to make the Christmas cheer shine just a little brighter, so I spent my evening yesterday working on the snacks for tonight. The first snack I created was a chocolate cupcake with vanilla frosting and peppermint crumbles on top. I used peppermint discs and realized that candy canes might have been a better option. Pettermint discs are pretty are hard to break… I learned this by beating on them quite loudly with a rolling pin. The rolling pin came out dented from the sharp edges of the crumbles. It was intense. Next time I will use a thinner peppermint candy and I’m sure that candy canes will fit that need.

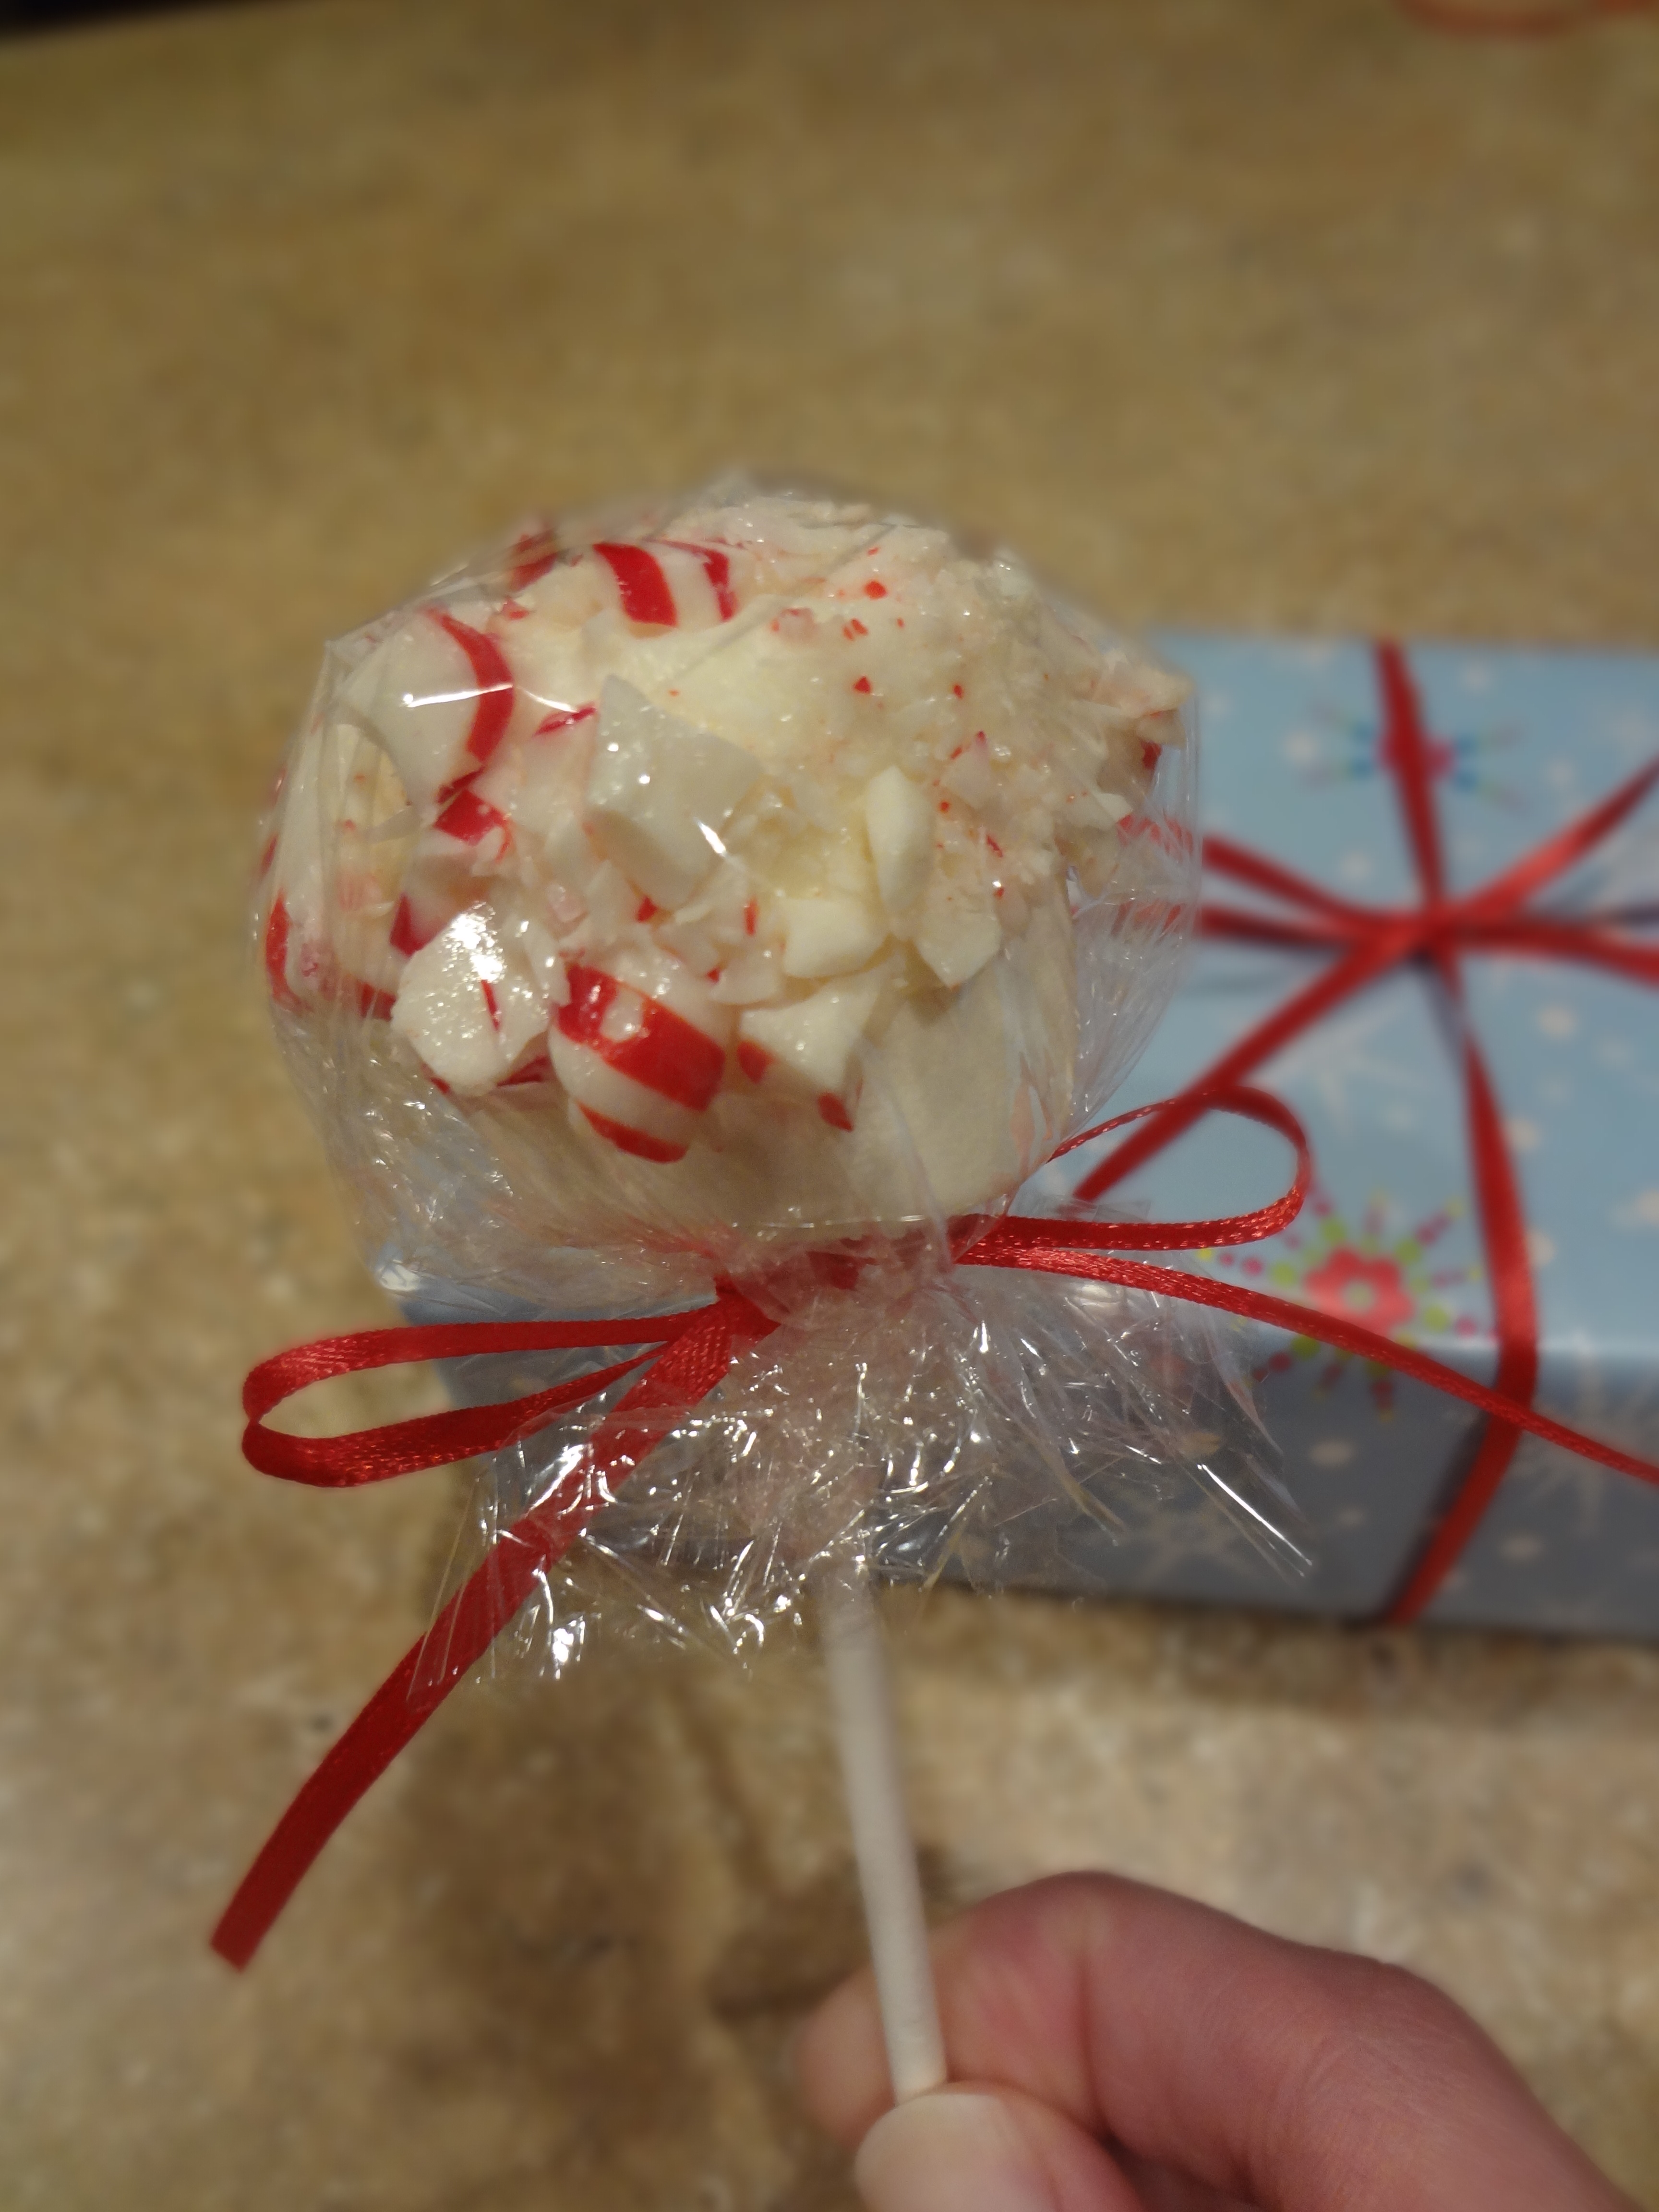
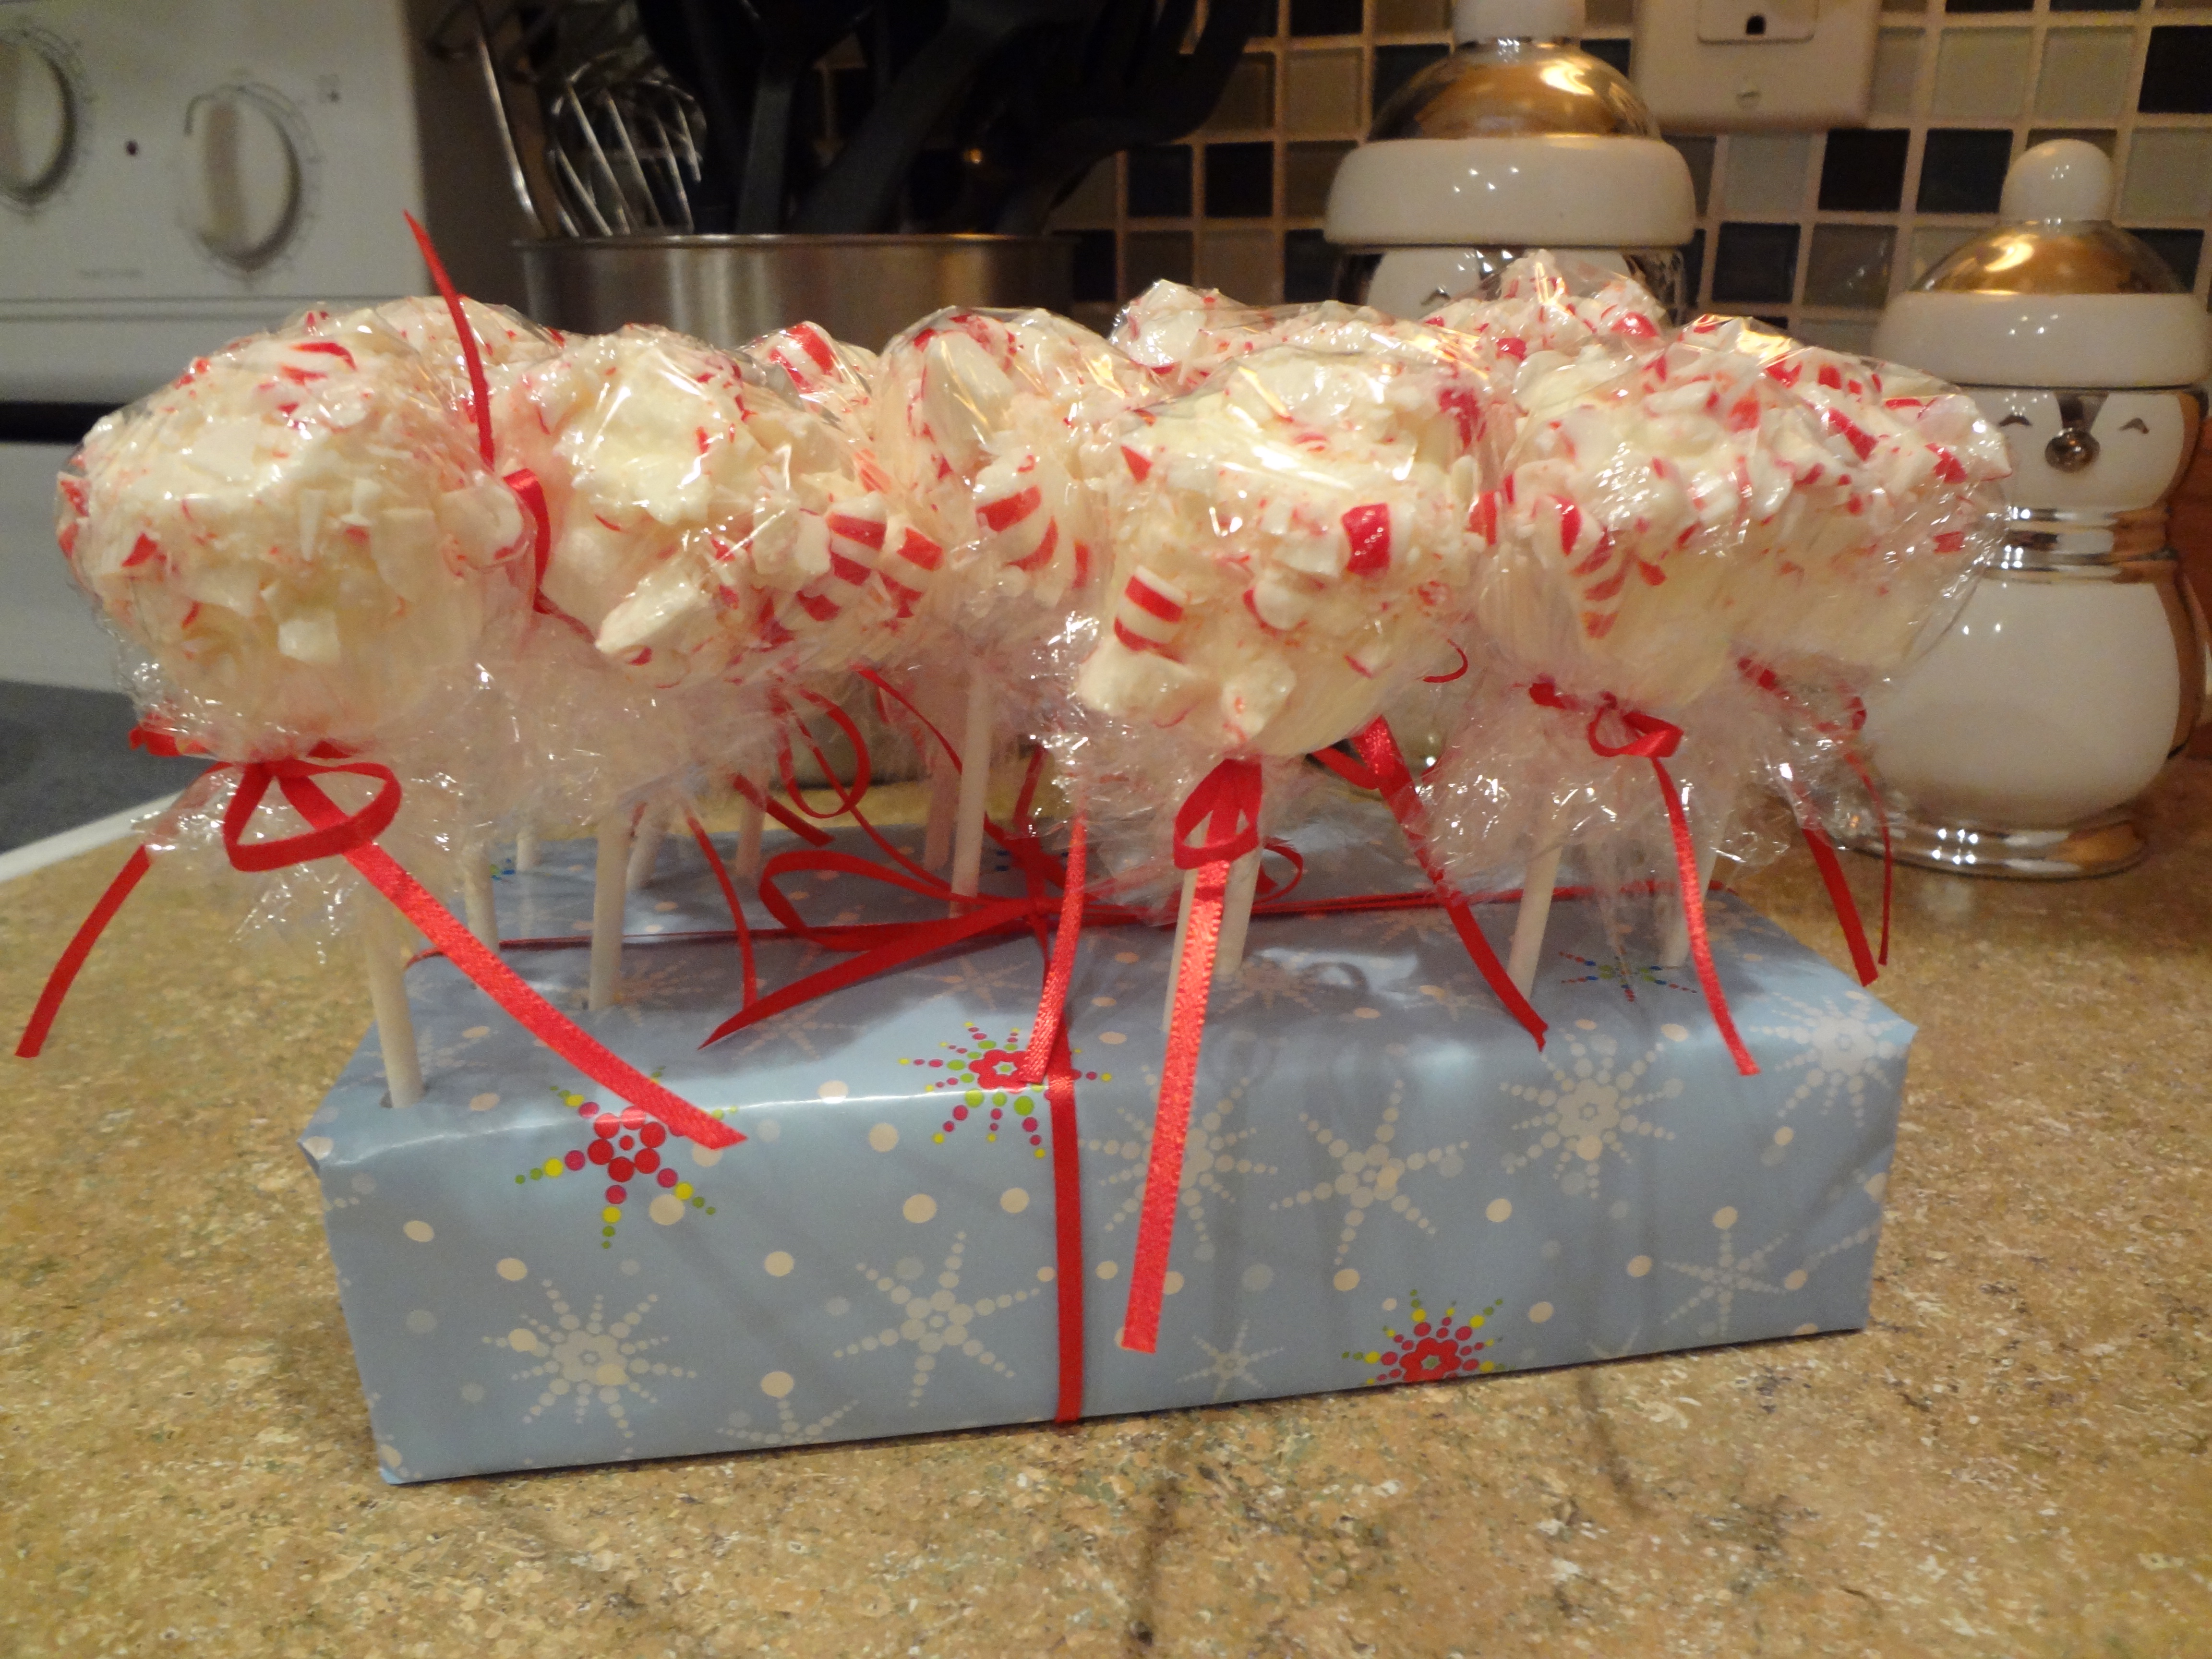
The second snack and the inspiration for my peppermint theme was a white chocolate dipped marshmallow that is then rolled in peppermint crumbles. These were very easy and fun to assemble. I crumbled the peppermint first. I put lollipop sticks into marshmallows before I melted the white chocolate. Once the white chocolate was fully melted, I set off dipping and rolling. It’s important to let as much extra chocolate drip off as possible. Rolling the marshmallow in peppermint was a little trickier than I expected, but it turned out great. I let the marshmallow pops cool on wax paper. Once the chocolate was set, I wrapped the marshmallows in plastic wrap and tied it close with red ribbon. There was some excess plastic wrap on the pop, so I cut around the pop so the wrap didn’t completely engulf the stick. Tying the ribbon into the bow was the final touch. I knew I needed a creative way to display these pops so I purchased some foam from my local craft store – the kind that they use for floral arrangements. I wrapped the foam like a present and then pushed the sticks through the wrapping paper into the foam. It’s really great for presentation as well as practical for transportation.

I’ve never really used peppermint in baking other than peppermint extract. It was a lot of fun to take something very seasonal and tweak it and create something new. It’s been a fun journey for me as I branch out of my “usual” baking projects and try something new. Peppermint is a very Christmasy flavor. It also has the right Christmas colors with the bright red and white. These goodies are sure to spread Christmas cheer on multiple levels!


Thanksgiving Baking Projects! November 23, 2011

Filed under: Cooking Experiments — Amy Scott @ 5:04 pm

It’s a been a drippy couple of days here in western Washington. Days like these are perfect for baking projects and with Thanksgiving coming up, I figured I would start some new baking adventures. I attend an annual event called Taste of the Holidays at my church. It’s a fun tasting of holiday goodies. They send me home with the recipes every year and I’ve never made a single thing out of the books. After this year’s TOTH, I decided I was finally going to make something out from these recipe books that I’ve stored for so long.

Of course, this is me, so I had to pick desserts! That is my favorite part of any meal! I went back through the books and picked three recipes that I remember liking a lot. I set to baking yesterday when I got home from work and finished up this afternoon. My first project was called Hello Dollies. They have graham cracker crust with chocolate (I used both milk chocolate and white chocolate), coconut, condensed milk and pecans. The second project I started was pumpkin bars with cream cheese frosting. I will admit that I just used store bought frosting. I figured with all the baking I had planned, it would be nice to have one step completed for me. The third project was raspberry ribbons. I think these were the hardest of all. It’s a cookie was raspberry jam down the middle and a glaze drizzled on top. There were more steps to this recipe and I don’t think I got the exact balance of jam to cookie down.

Because I plan I sharing these goodies with family tomorrow I couldn’t dig right in and chow down. However, I’ve never made these recipes before so I did do a little taste testing… I needed to know what I was serving! Overall,  I think these treats were tasty and I look forward to sharing them with others. Every year when I attend TOTH, I get a little overwhelmed by how awesome all the food is. I guess I always figured that I would never be able to do as good as a job as the chefs so why try… I’ve decided that is a dumb attitude to have! So what if I’m not the best – these turned out great and I am very happy with them! That is all that matters! It’s not a contest!


Pre-Thanksgiving Dinner! November 19, 2011

Filed under: Cooking Experiments — Amy Scott @ 8:00 am

I feel like I cheated a bit. On Thursday night my husband and I made a small feast and it was very much like that of Thanksgiving. Now it didn’t have all the trimmings, but it had all my favorites! Jeremy grew a ton of potatoes this summer in his garden. I asked him if he wanted to make anything in particular on Thursday night since we would both be home and he said something with potatoes. From there the inspiration of our meal unfolded. We could do mashed potatoes… we have a frozen turkey breast in the freezer… I could attempt to make dinner rolls for the first time… Jeremy would stop by the store and get cranberry jelly. There you have it – my Thanksgiving staples – turkey, mashed potatoes, dinner rolls and cranberry jelly. Yum!!! In the original plan, Jeremy was going to make stuffing, but he was too hungry when he came home so the stuffing went by the wayside so we could eat faster. Sad for him, not so much for me. I’m not sure why, but I’ve never been a big fan of stuffing.

I was really nervous about making dinner rolls. I guess I’ve heard one too many stories about how someone’s rolls didn’t rise enough or the rolls turned into hard lumps or they were undercooked and doughy. In my mind, rolls have always been something that could go wrong in a number of ways. Normally I stick to buying already baked rolls or the frozen kind. However, in my quest for culinary greatness, I decided to try my hand at making dinner rolls. I found that I like making rolls more than I like making bread. The recipe I used was easier to work with and the flavor was better in my opinion. The only thing I struggled with is getting my dough to rise because my house tends to be on the colder side. However, it was worth the patience and the rolls were fabulous!

We enjoyed our meal a lot! A pre-taste of what is come in less than a week! It’s so hard to wait until Thanksgiving when there are so many good foods in the stores and commercials on television keep showing holiday meals. It was impossible to pass up the opportunity! After dinner, Jeremy talked me into playing Wii Party with him. He has been trying to get me to play for a while, so I caved. It was fun. I won one game and he won the other. Snowflakes fell for a bit so we sat with the curtains open so we could see them falling. After Wii Party, I made an apple crisp to end our feasting evening! I know we’ll have lots of pumpkin treats next week and I still had apples to use, so it seemed that apple was a better direction to go! Overall it was a very tasty and fun evening. It truly feels like the holiday season is here and I am loving it!